[Overview]
In this blog, we will guide you on how to set up AWS WAF (Web Application Firewall) by creating a Web ACL.
AWS WAF is composed of the following elements and can be applied to a CloudFront, an ALB (Application Load Balancer), or an API Gateway (Amazon API Gateway). AWS WAF lets you filter web requests that are forwarded to these AWS resources.
・Web ACLs
A Web Access Control List (Web ACL) consists of rules and gives you fine-grained control over the web requests that your Amazon API Gateway API, Amazon CloudFront distribution or Application Load Balancer responds to. A maximum of 10 rules can be added to a Web ACL and you can specify whether you want AWS WAF to allow or block requests based on the conditions that you added to the rule.
・Conditions
You can specify conditions in a rule, under which you want to allow or block requests. You can define conditions such as IP match, string match, SWL Injection, etc.
・Rules
Rules contains conditions. If you add more than one condition to a rule, a request must match values in all conditions to be allowed or blocked.
[Creating a Web ACL]
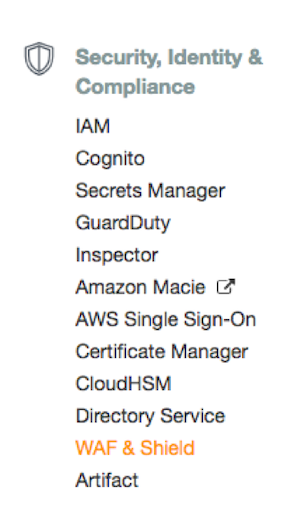
1. Select "WAF & Shield" on AWS console.
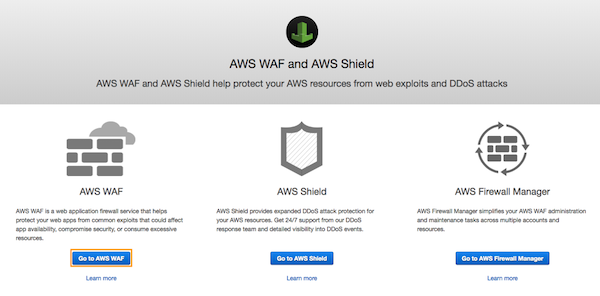
2. When you see the following page, click "Go to AWS WAF".
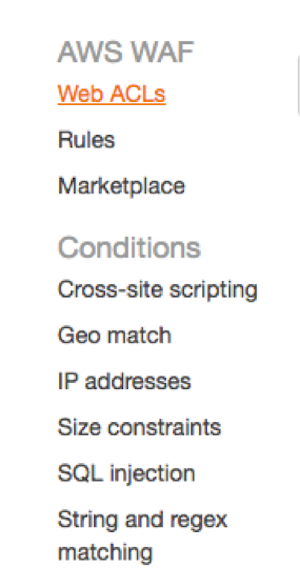
3. Select "Web ACLs" from the AWS WAF console.
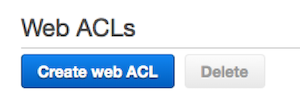
4. Click "Create web ACL"
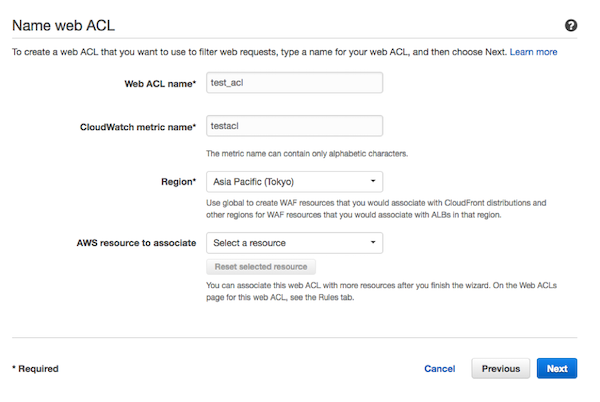
5. Enter "Web ACL name" and select "Region". When you have decided which resource should be attached to the Web ACL, select "AWS resource to associate" and then click "Next".
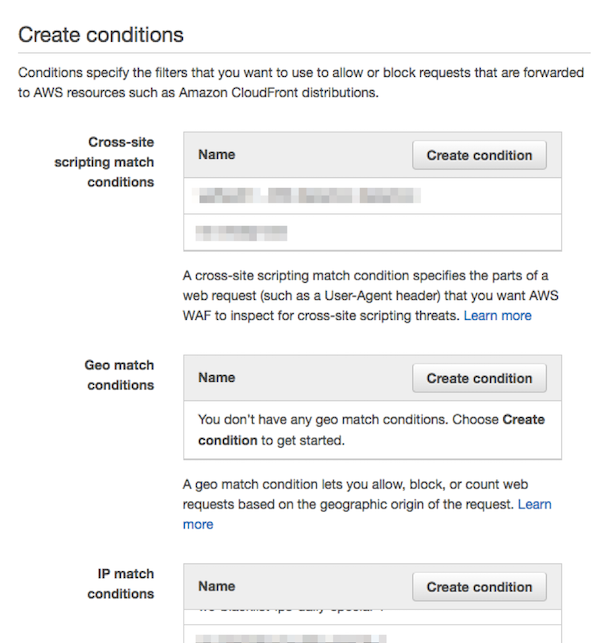
6. The following page is for making conditions. Please refer to our other blogs for detailed explanation in creating conditions. For now, we will continue to the next page. After creating the required conditions, click "Next".
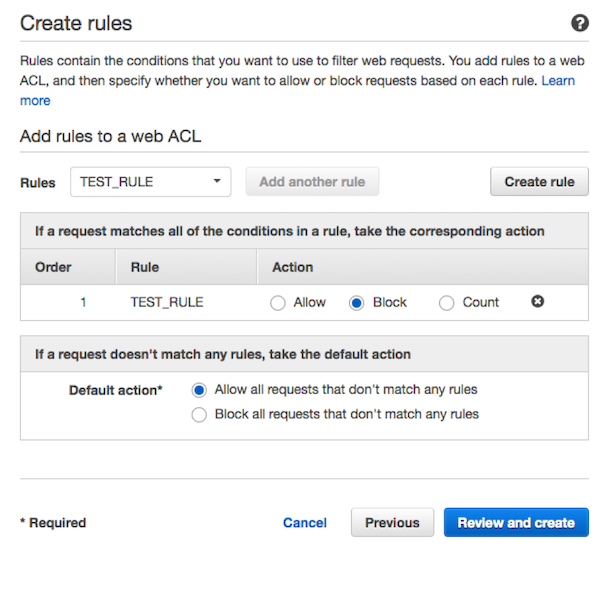
7. The next page is for creating rules. To apply rules to a Web ACL, you can make new ones or add existing rules. Please refer to our other blogs for detailed explanation in creating rules. For now, we will continue to the next page. After creating the required rules, and applying it to Web ACL, click "Review and create".
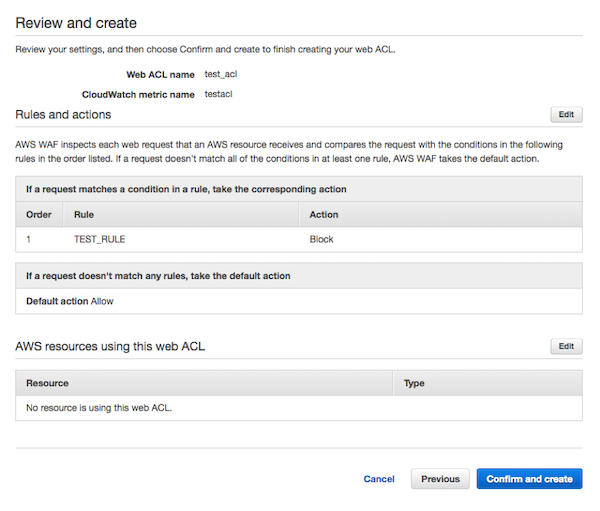
8. On the last page, review your settings and if you are satisfied with it, click "Confirm and create".
Summary
In this blog, we explained steps to create a Web ACL and the process of setting up AWS WAF. Please refer to the following blogs for more detailed information on how to create a rule and a condition depending on your requirements.
・Allow Requests from Specific IP Addresses in AWS WAF
・Block Attacks from Specific IP Addresses in AWS WAF
・Change a Specific Rule to Count Mode in AWS WAF
・How to Block SQL Injection Attacks with AWS WAF
・How to Block a Request that Contains a Specific String in URI with AWS WAF