This post was originally written in Japanese in the past.
Overview
There is a logging feature in AWS WAF such as sampled logs and full logs, but neither of them includes POST request body data.
In this post, we will look at a way to obtain POST request body data of a request through CloudFront using Lambda@Edge.
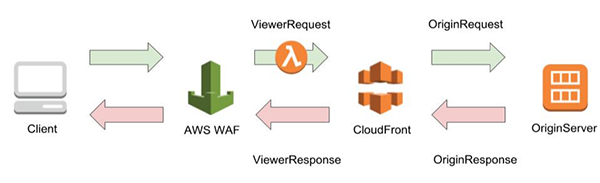
We will run Lambda@Edge to get POST request body data in the ViewerRequest step illustrated below.
We chose the timing to run Lambda@Edge at the ViewerRequest step because we need the “requestId” key as common information between the POST request body and full log when investigating the cause of false positives.
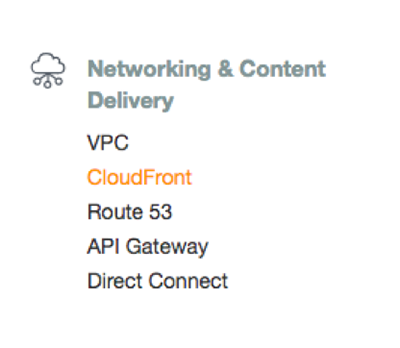
CloudFront
CloudFront is a globally provided content delivery network service. By caching data to servers located worldwide, you can have low latency for accesses from various countries.
Lambda
AWS Lambda (will be referred to as Lambda) is a service that allows you to run codes without maintaining servers. You could think of it as PaaS in a way. It allows you to just code without constructing infrastructure, and by setting a condition to run the process, the code will run when an event that matches the condition occurs.
Example:
Create an image for a thumbnail when a new image is placed in an S3 bucket, etc.
Other triggers include running scheduled processes using CloudWatch like batch processing.
Lambda@Edge
Lambda@Edge is a feature that runs Lambda functions based on triggers from requests to CloudFront or responses from CloudFront.
There are four types of triggers:
- ViewerRequest
- OriginRequest
- OriginResponse
- ViewerResponse
Before using the feature
- You cannot obtain POST request body of the request that got blocked by AWS WAF
- In the production environment, this should be used as temporary setting
- To implement this feature, make sure to test in a testing environment before applying it to a production environment
- Because Lambda@Edge will be executed on each request, there might be delays depending on how many web requests you receive
https://aws.amazon.com/jp/blogs/networking-and-content-delivery/lambdaedge-design-best-practices/
Procedure
- Check CloudFront settings
- Create Kinesis Data Firehose
- Create a role to execute Lambda@Edge
- Set up Lambda@Edge
- Check Lambda@Edge’s operation
- Check that logs with POST data are exported to S3
- Stopping the feature
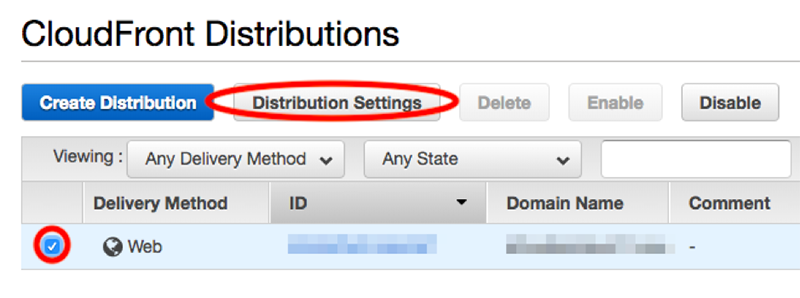
1. Check CloudFront settings
First, we will set up CloudFront to accept POST requests.
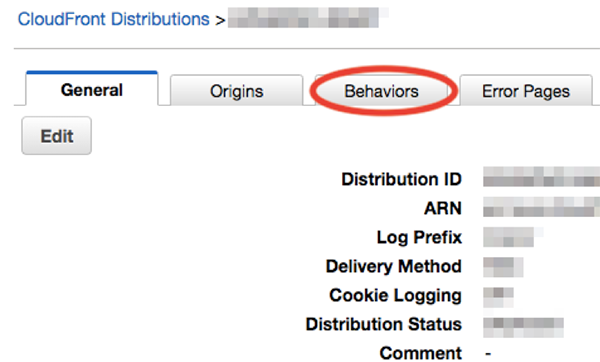
Check the target CloudFront and click [Distribution Settings]. Then, click [Behaviors].

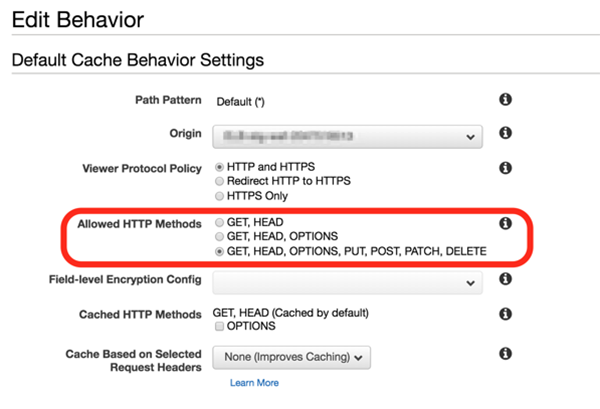
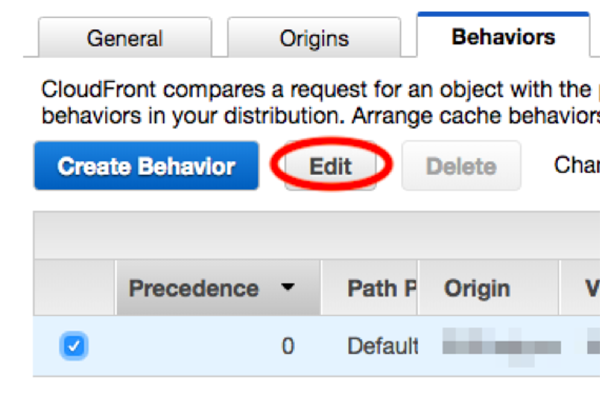
Check the target behavior and click [Edit].

Make sure “Allowed HTTP Methods” is set to the option listed at the bottom of the list with “POST” included.
2. Create Kinesis Data Firehose
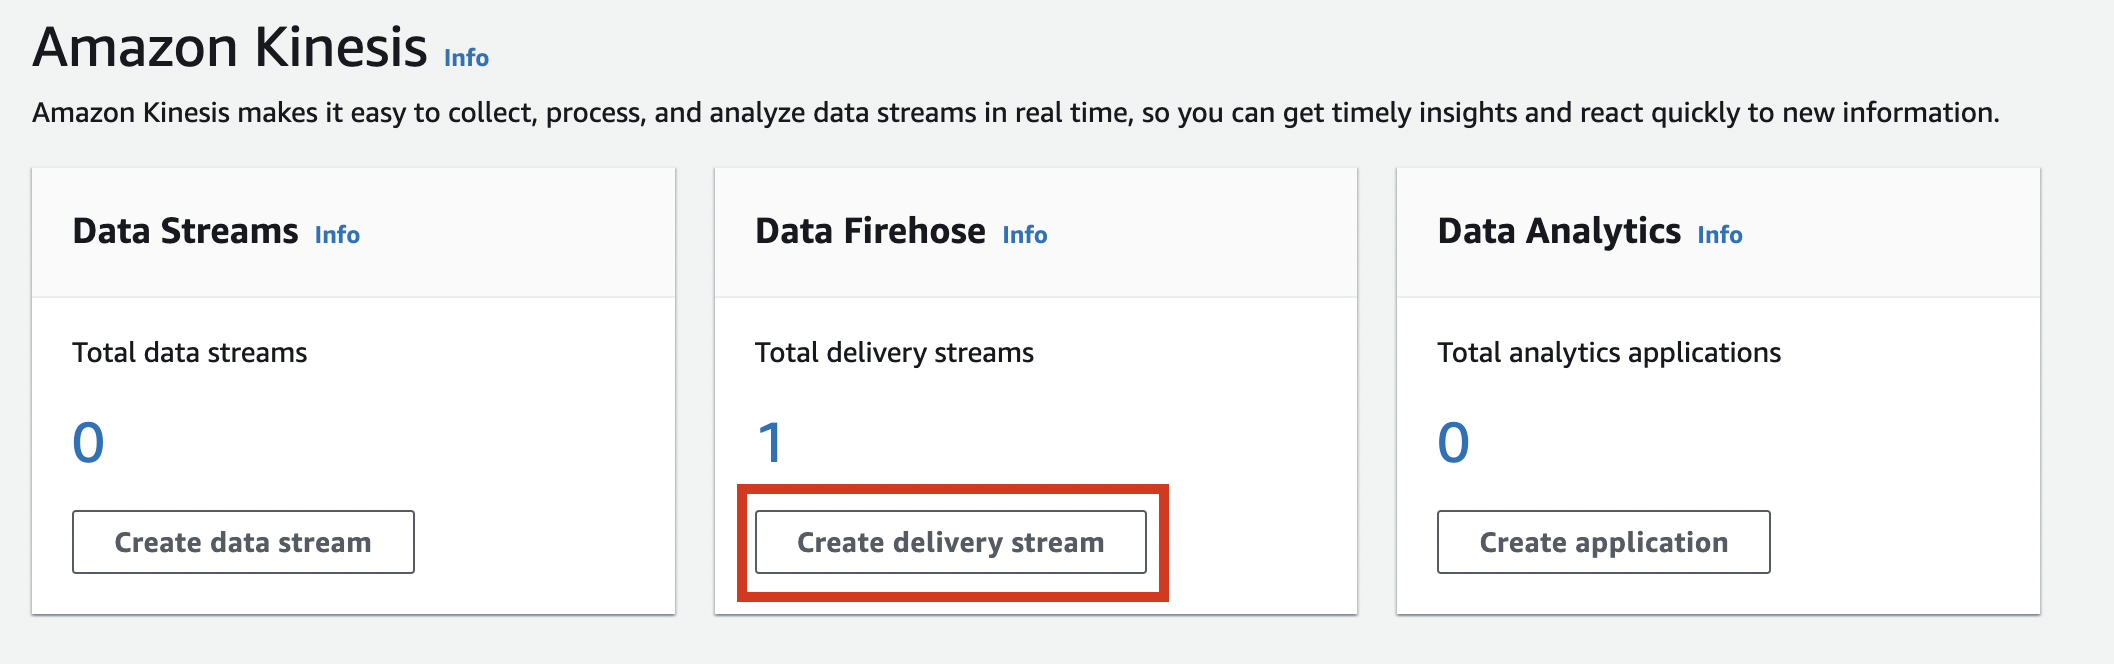
Next, we will set up Kinesis Data Firehose.
Click [Create delivery stream].
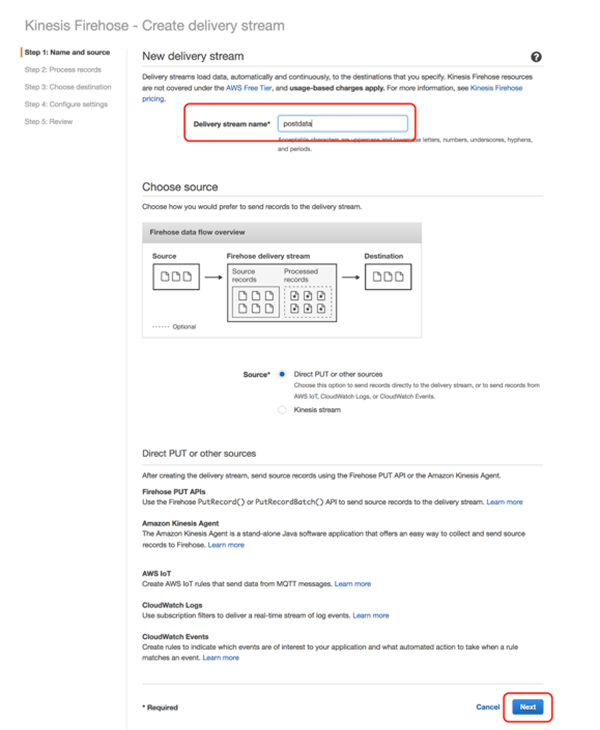
Enter a name of your choice in “Delivery stream name” and click [Next].
*0 We will be using the name later.
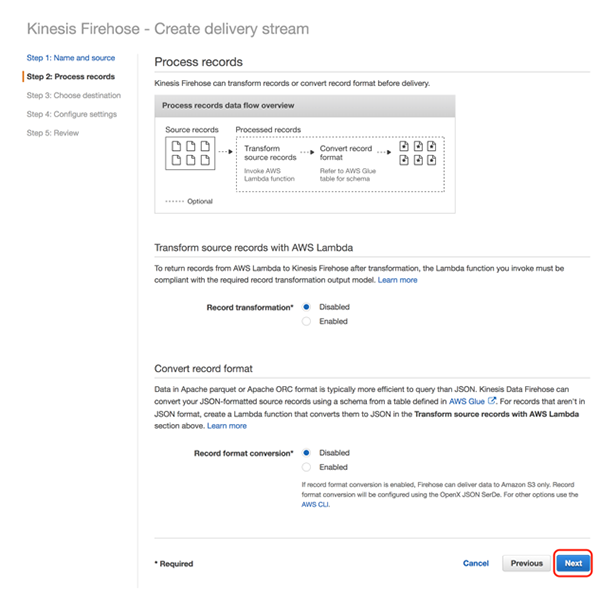
Leave all options as default and click [Next].
*Default settings
- “Record transformation Disabled”: Disabled
- “Record format conversion”: Disabled
Set “Destination” to “Amazon S3”, specify “S3 bucket” and “Prefix,” and click [Next]
Example: S3://csc-waftest/postdata/
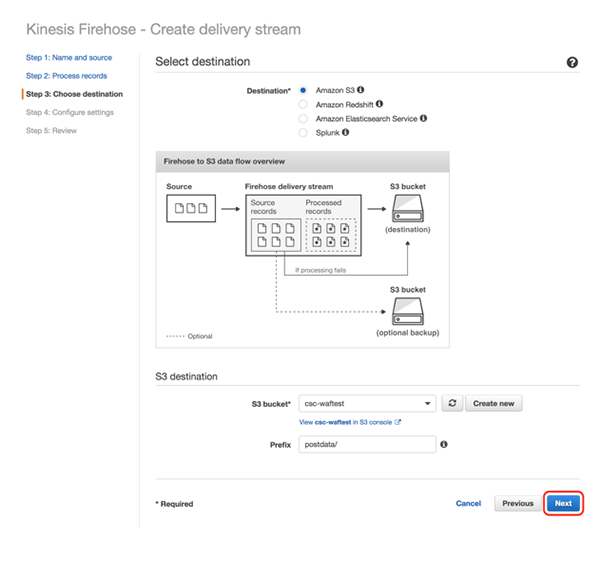
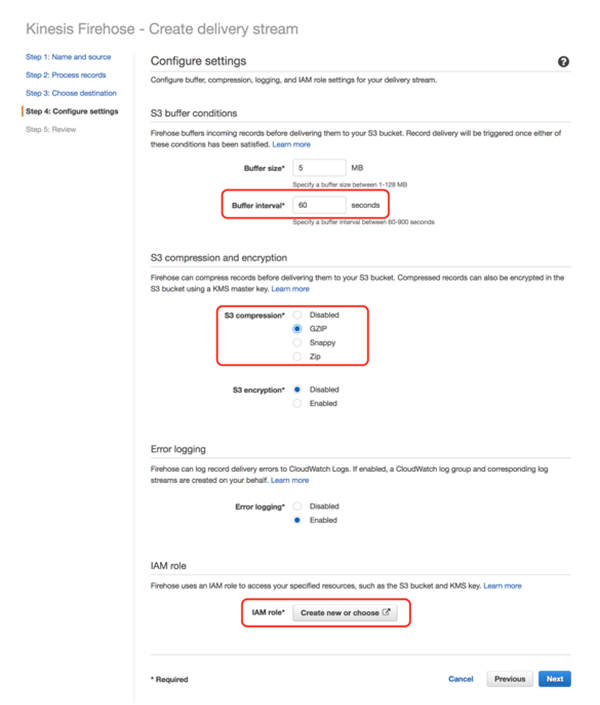
“Buffer interval” and “S3 compression” can be set to your choice. As an example, we have set the “Buffer interval” to 60 and “S3 compression” to “GZIP” in this test.
Next, click on the “Create new or choose” under the “IAM role” section.
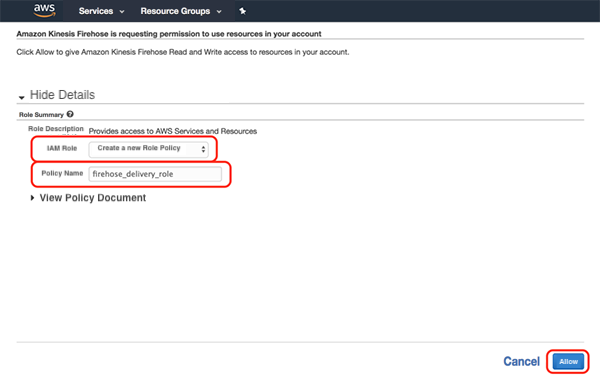
Use the existing role or create a new role.
The role name will be automatically set to “firehose_delivery_role,” but you can change it to the name of your choice.
After entering the name, click [Allow].
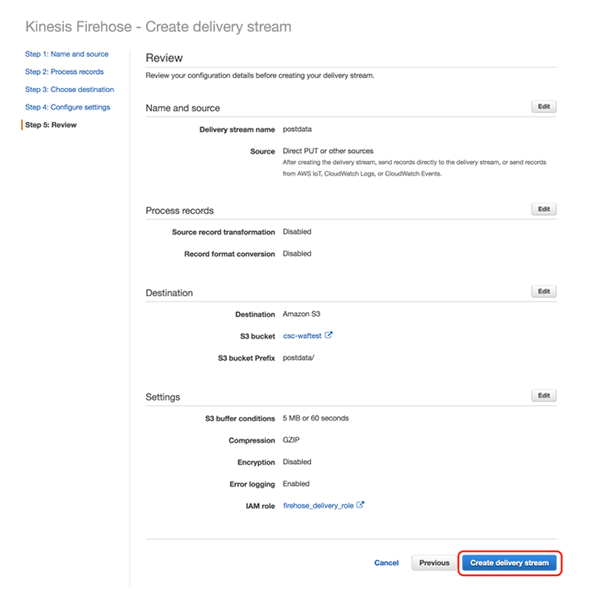
Ensure that the role is applied correctly and click [Next].

Check the setting and if you are happy with it, click [Create delivery stream].
 >
>
When creation is complete, a message “Successfully created delivery stream XXXX (the name of Kinesis Data Firehose you specified in *0)” will be shown on the screen.

3. Create a role to execute Lambda@Edge
Next, we will create an IAM role.
Click [Roles].
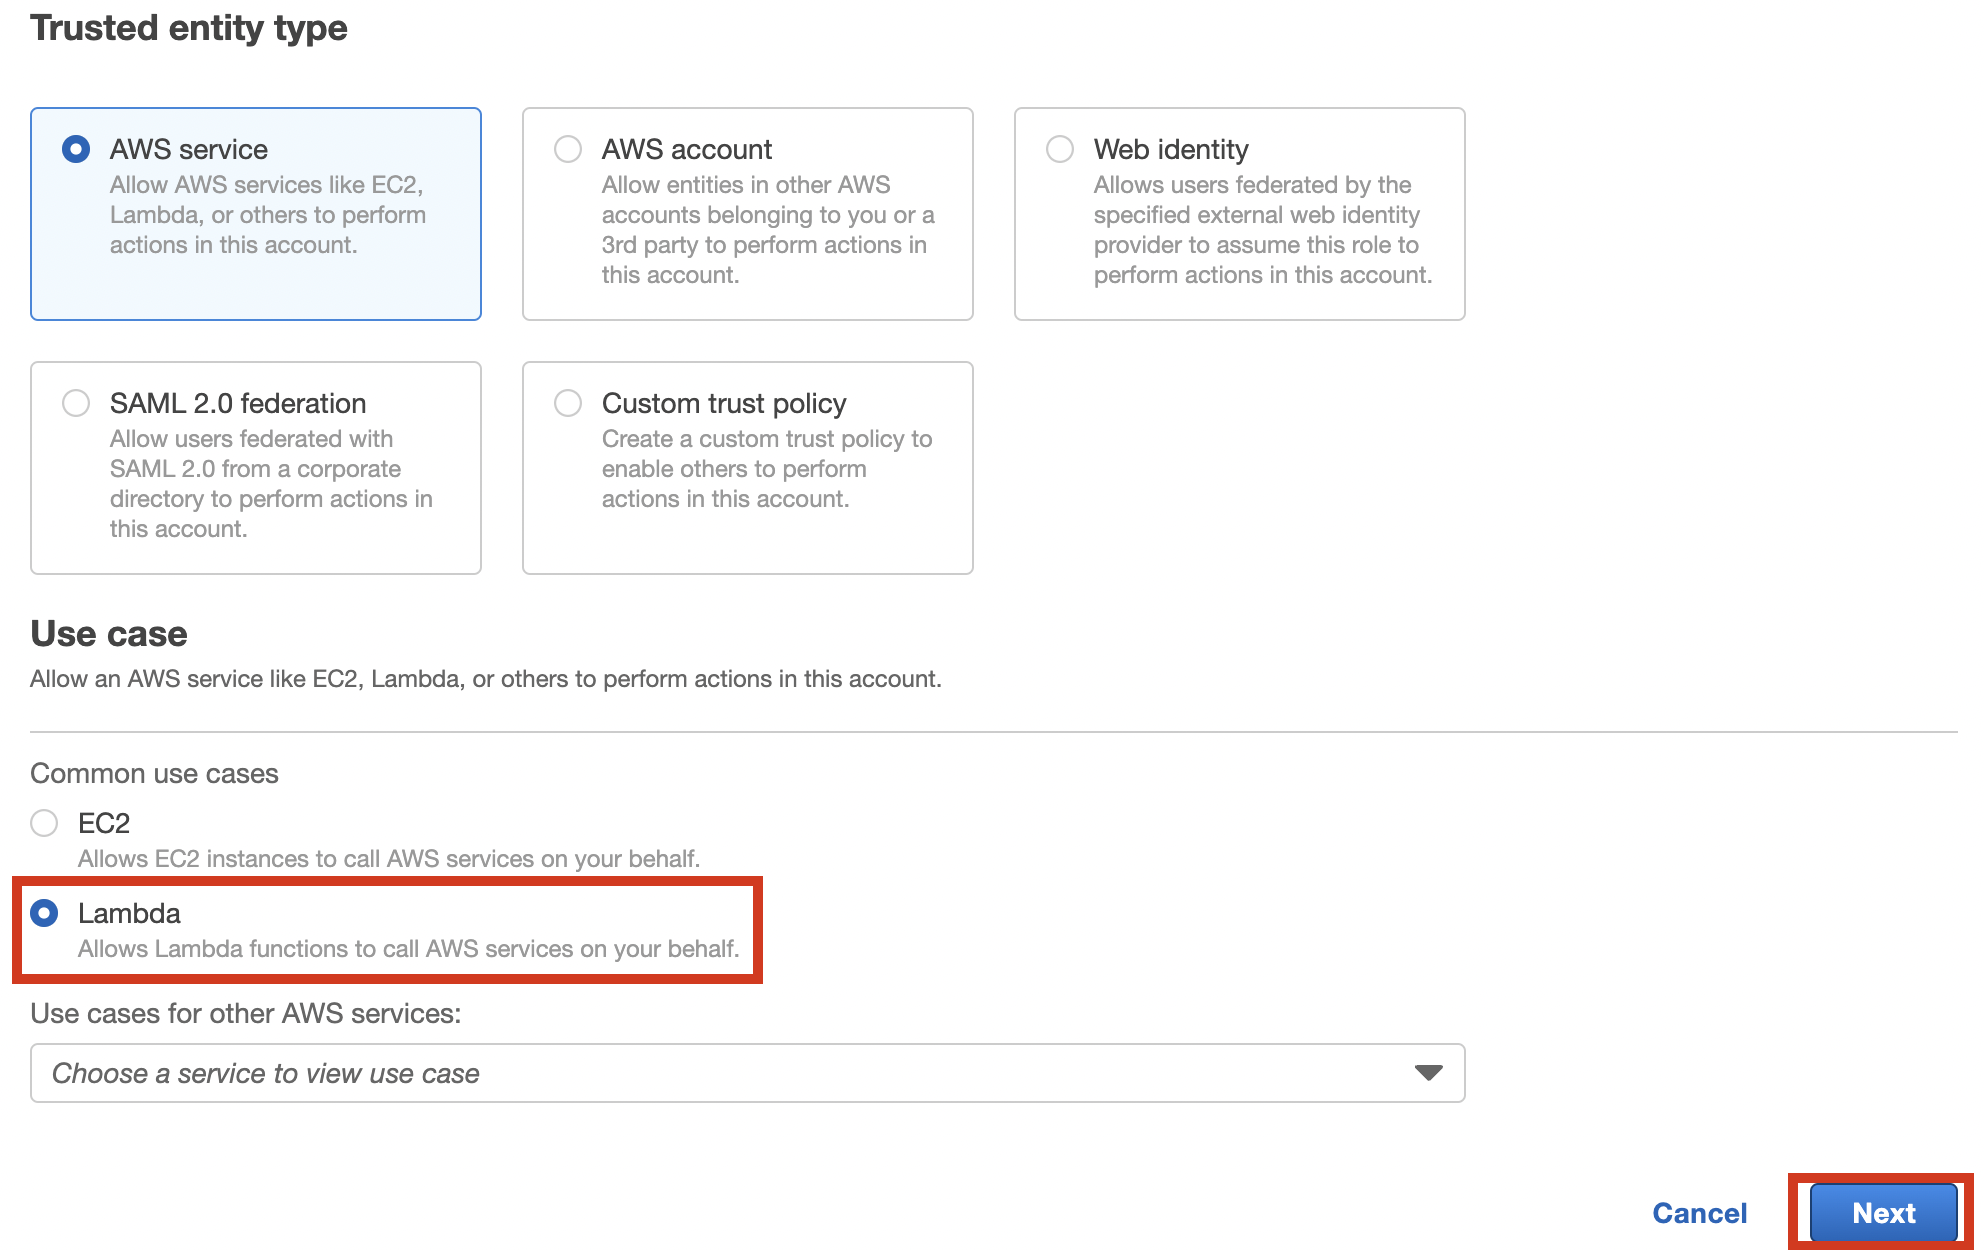
Click [Create role].

Select “Lambda” and click [Next].
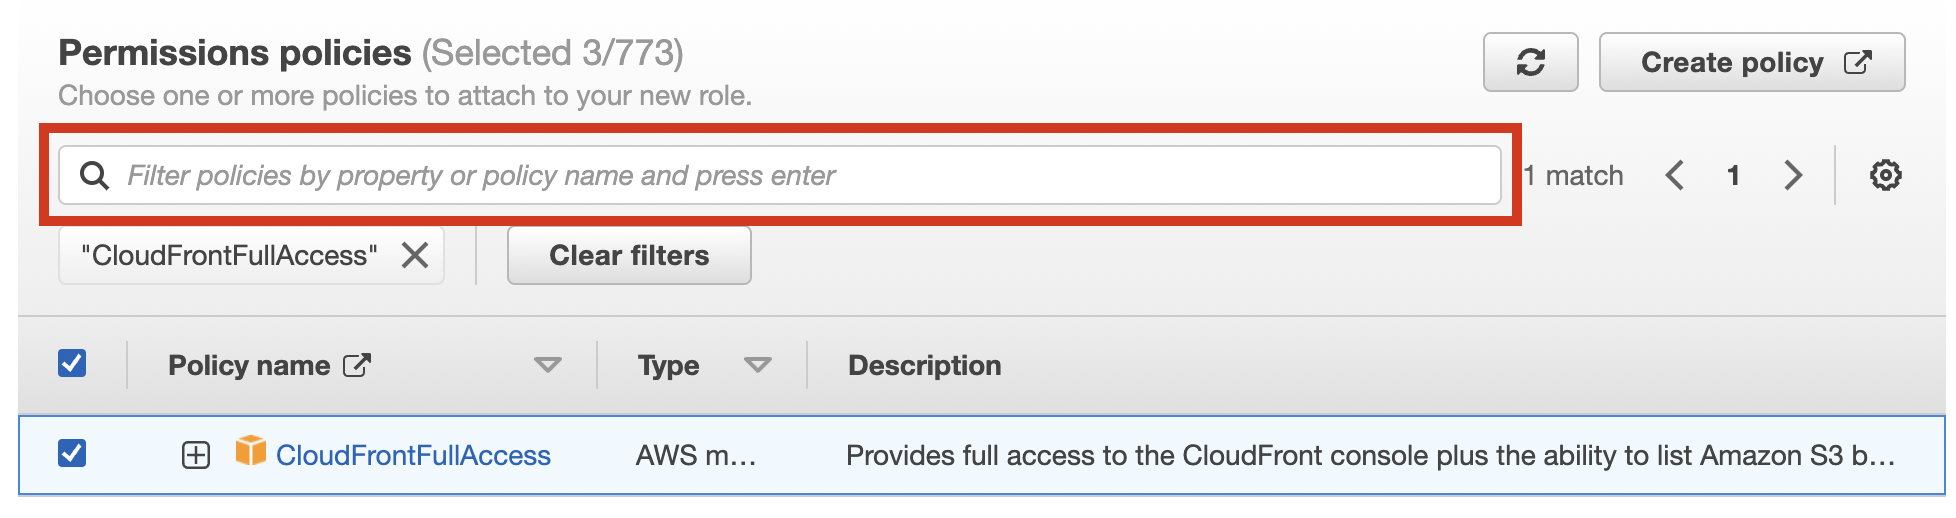
Enter the keywords in the policy filter to select the policies below.
- AmazonKinesisFirehoseFullAccess
- AWSLambdaExecute
- CloudFrontFullAccess
Once you’ve selected all policies, click [Next].
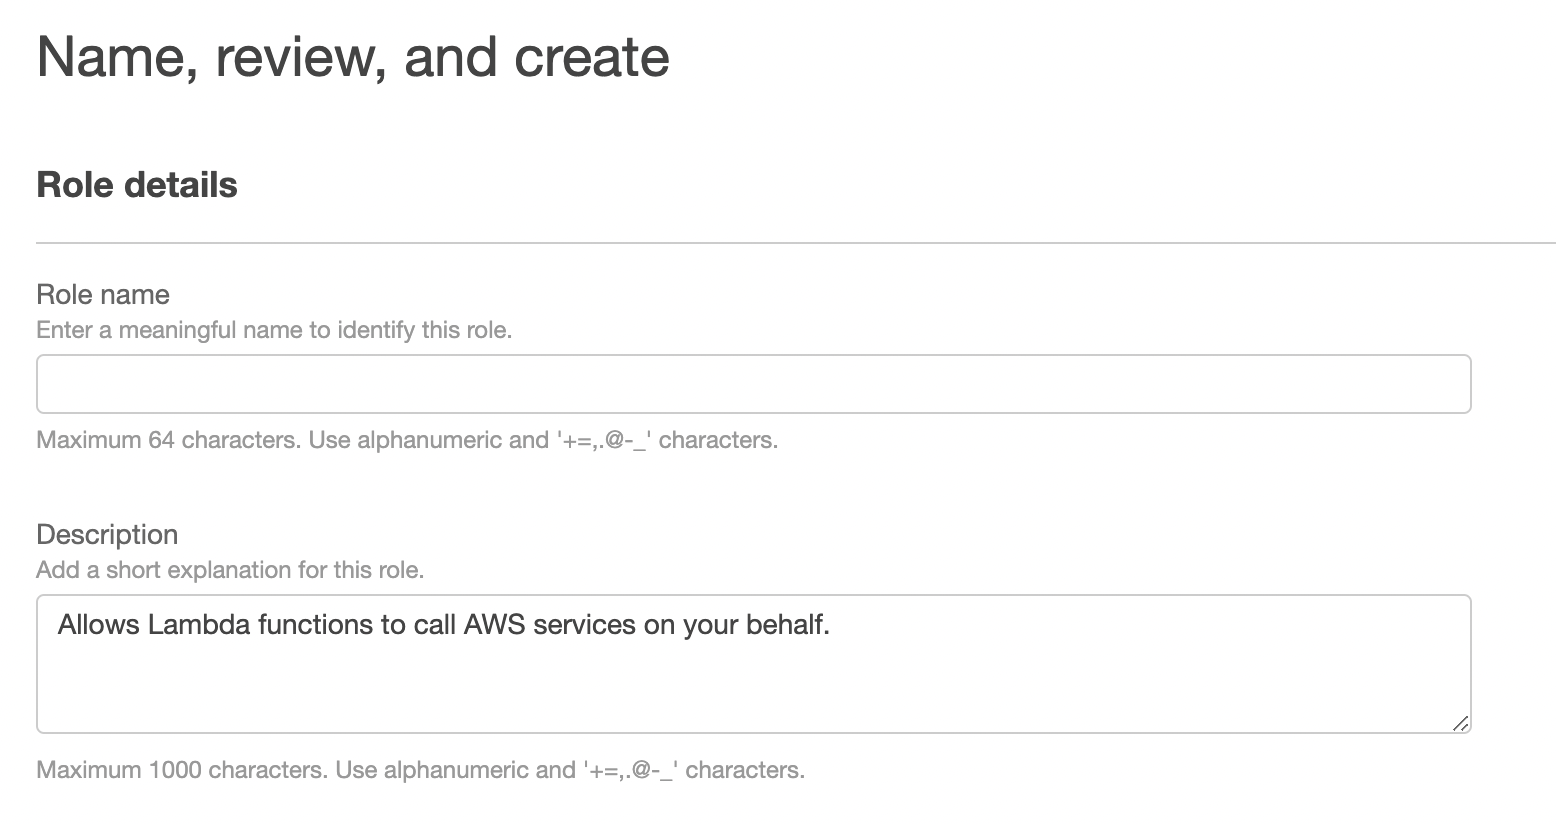
Enter your choice of name and description into the Role name and Description.
*1 We will use this role later.
Ensure all three policies have been added and click [Create role].
From the overview of the created role, click the “Trust relationships” tab.
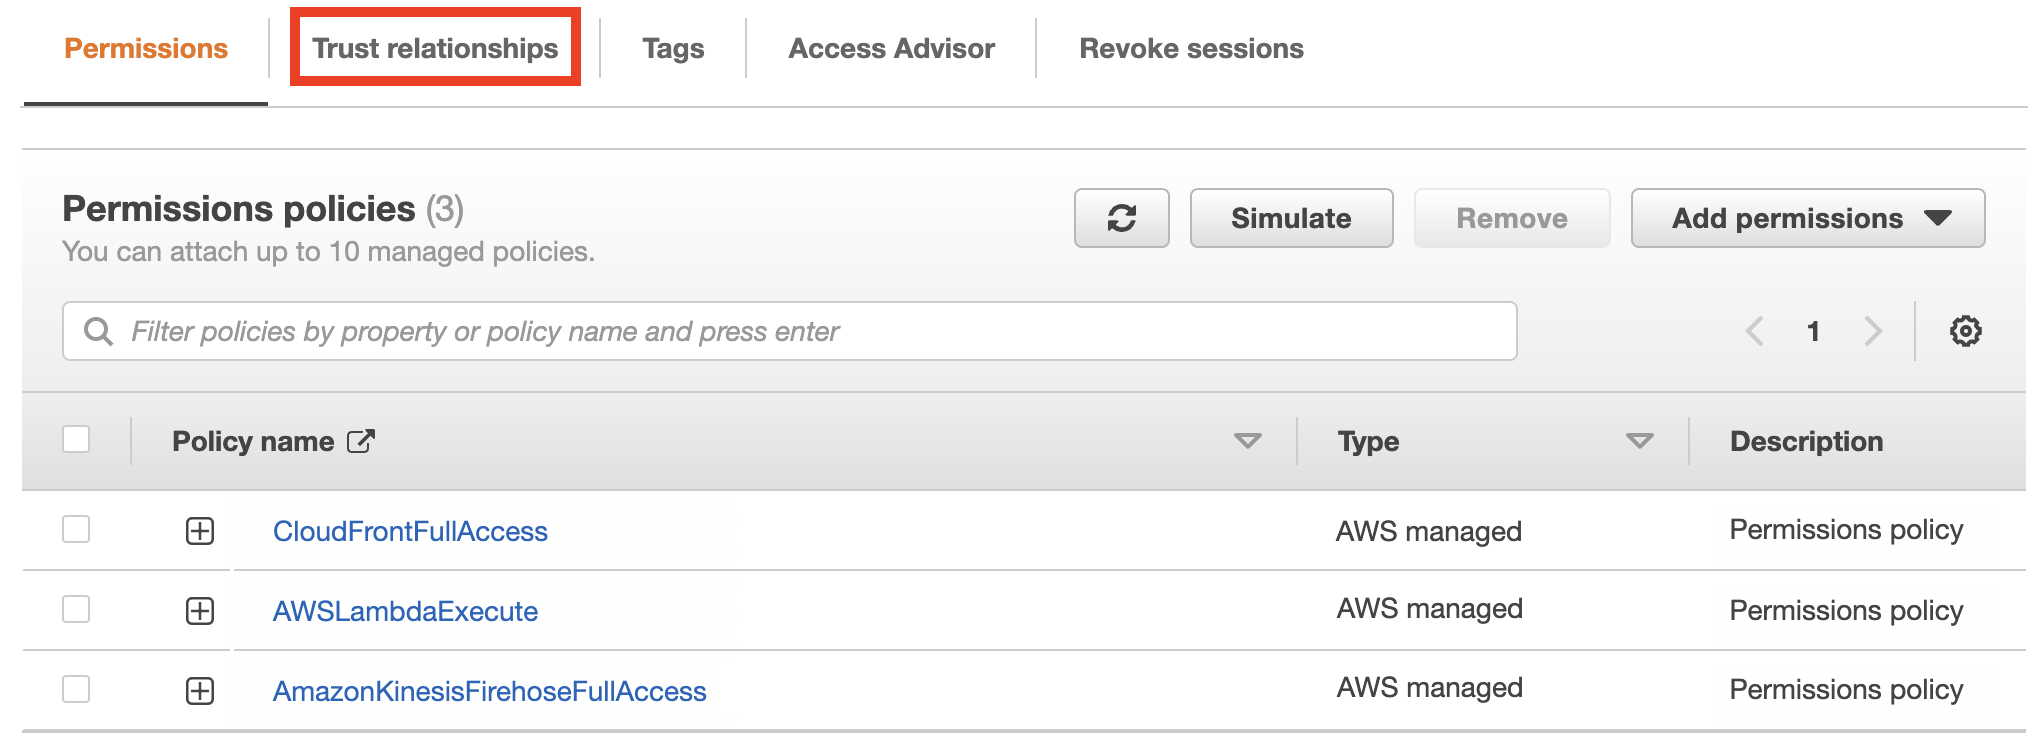
Click [Edit trust policy].

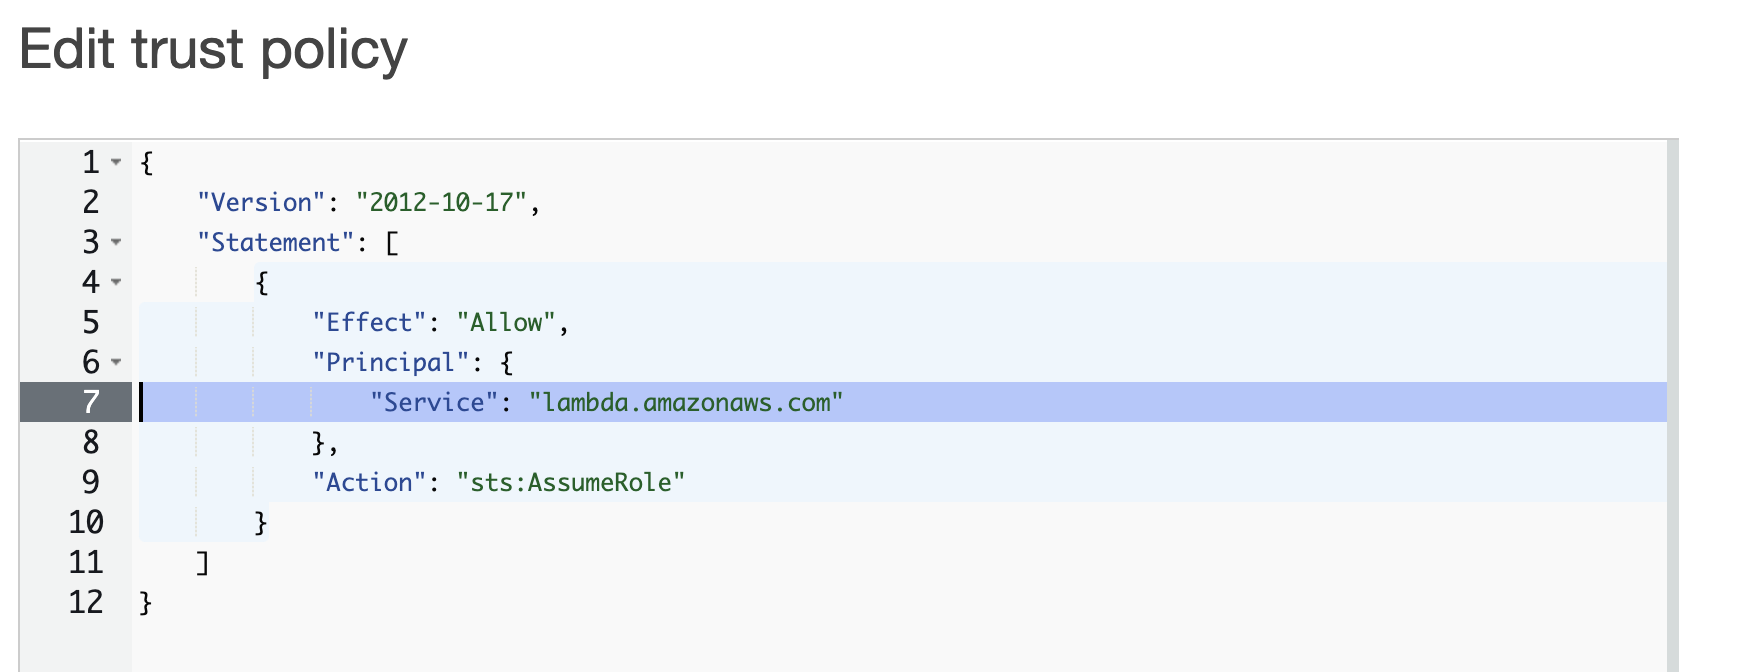
Edit the “Service” section as shown below and click [Update policy].
Before editing
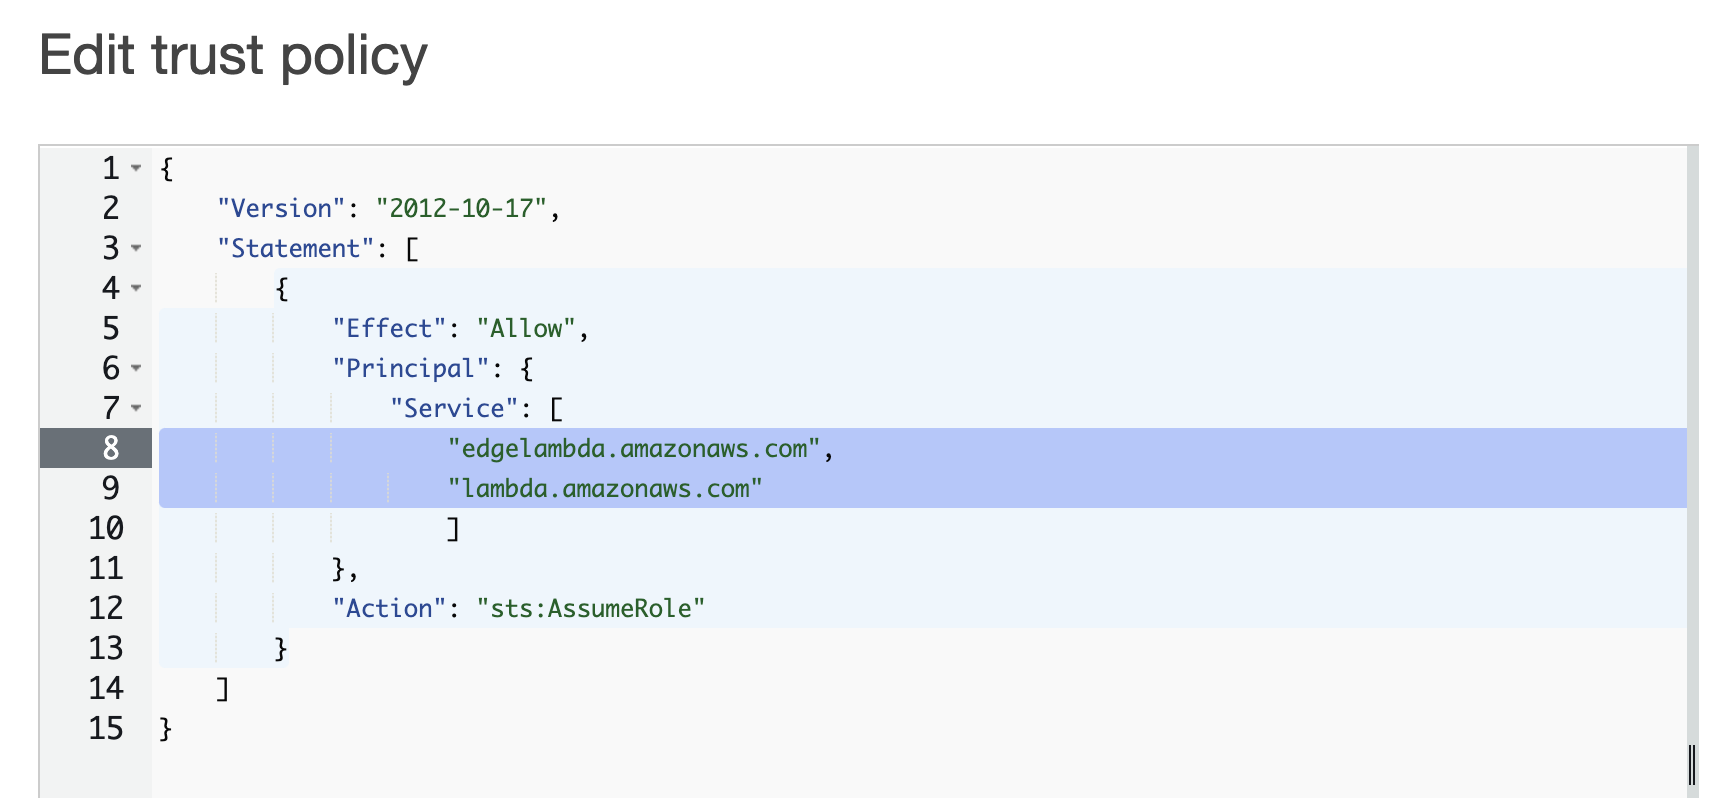
After editing
Before editing
"Service": "lambda.amazonaws.com"
After editing
"Service": [
"edgelambda.amazonaws.com",
"lambda.amazonaws.com"
]
4. Set up Lambda@Edge
Open Lambda service page.
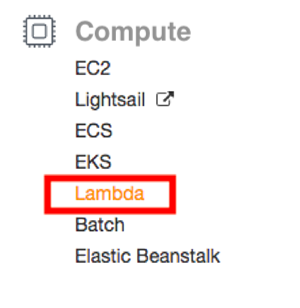
Change the region to “US East (Northern Virginia)” and click [Create function].

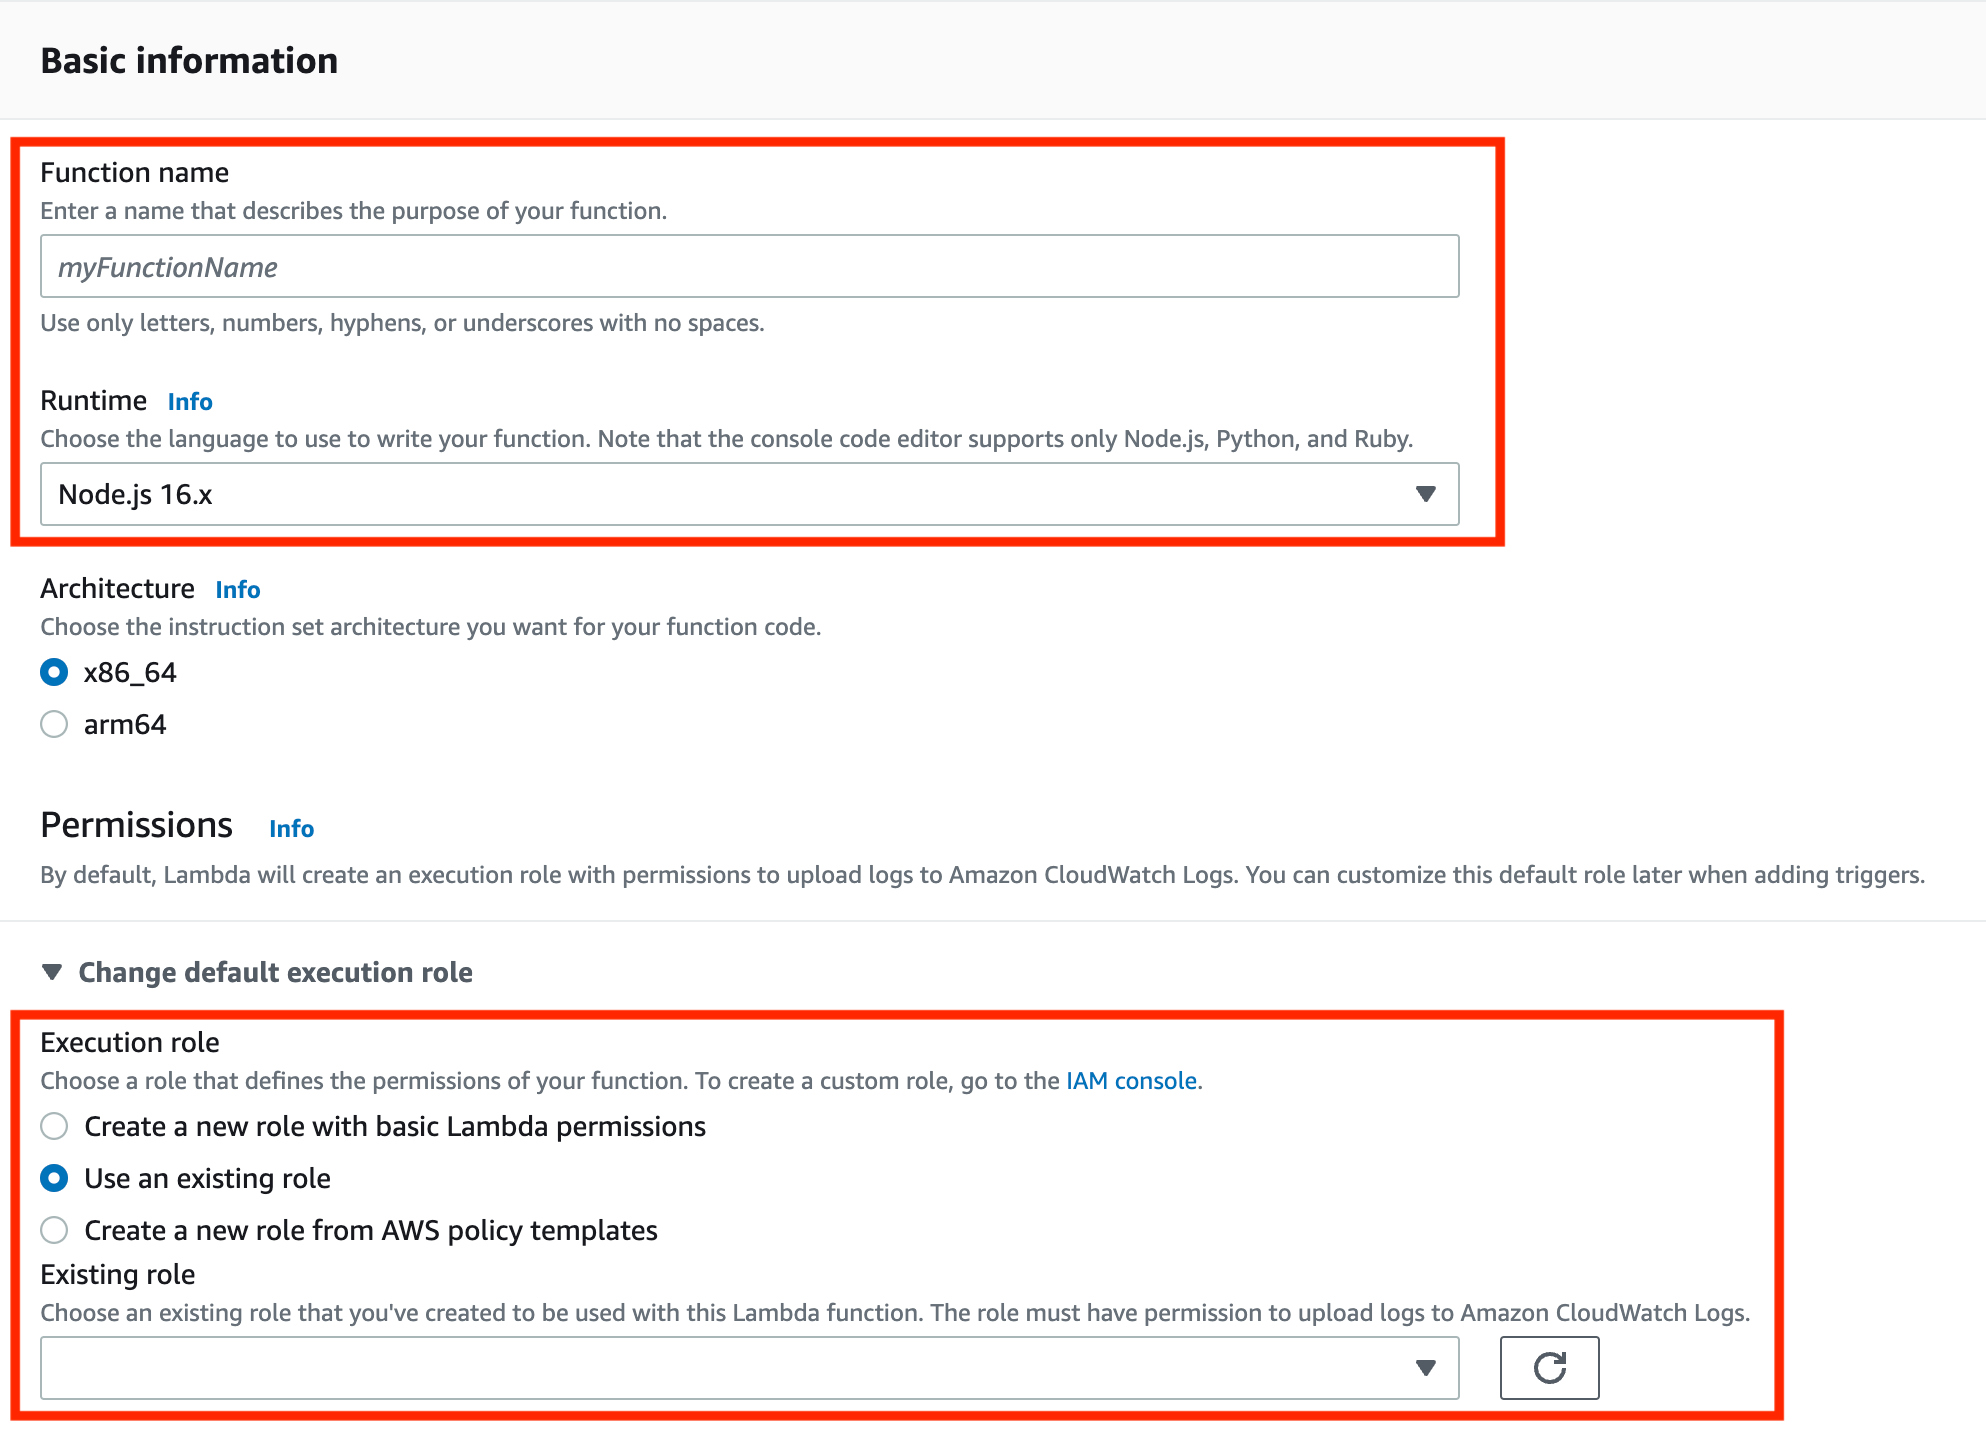
Create a function with the information below.
- Function name: enter any name you like. *2 We will use this name later
- Runtime: Node.js 8.10
- Execution role: Use an existing role
- Existing role: select the role you created in *1
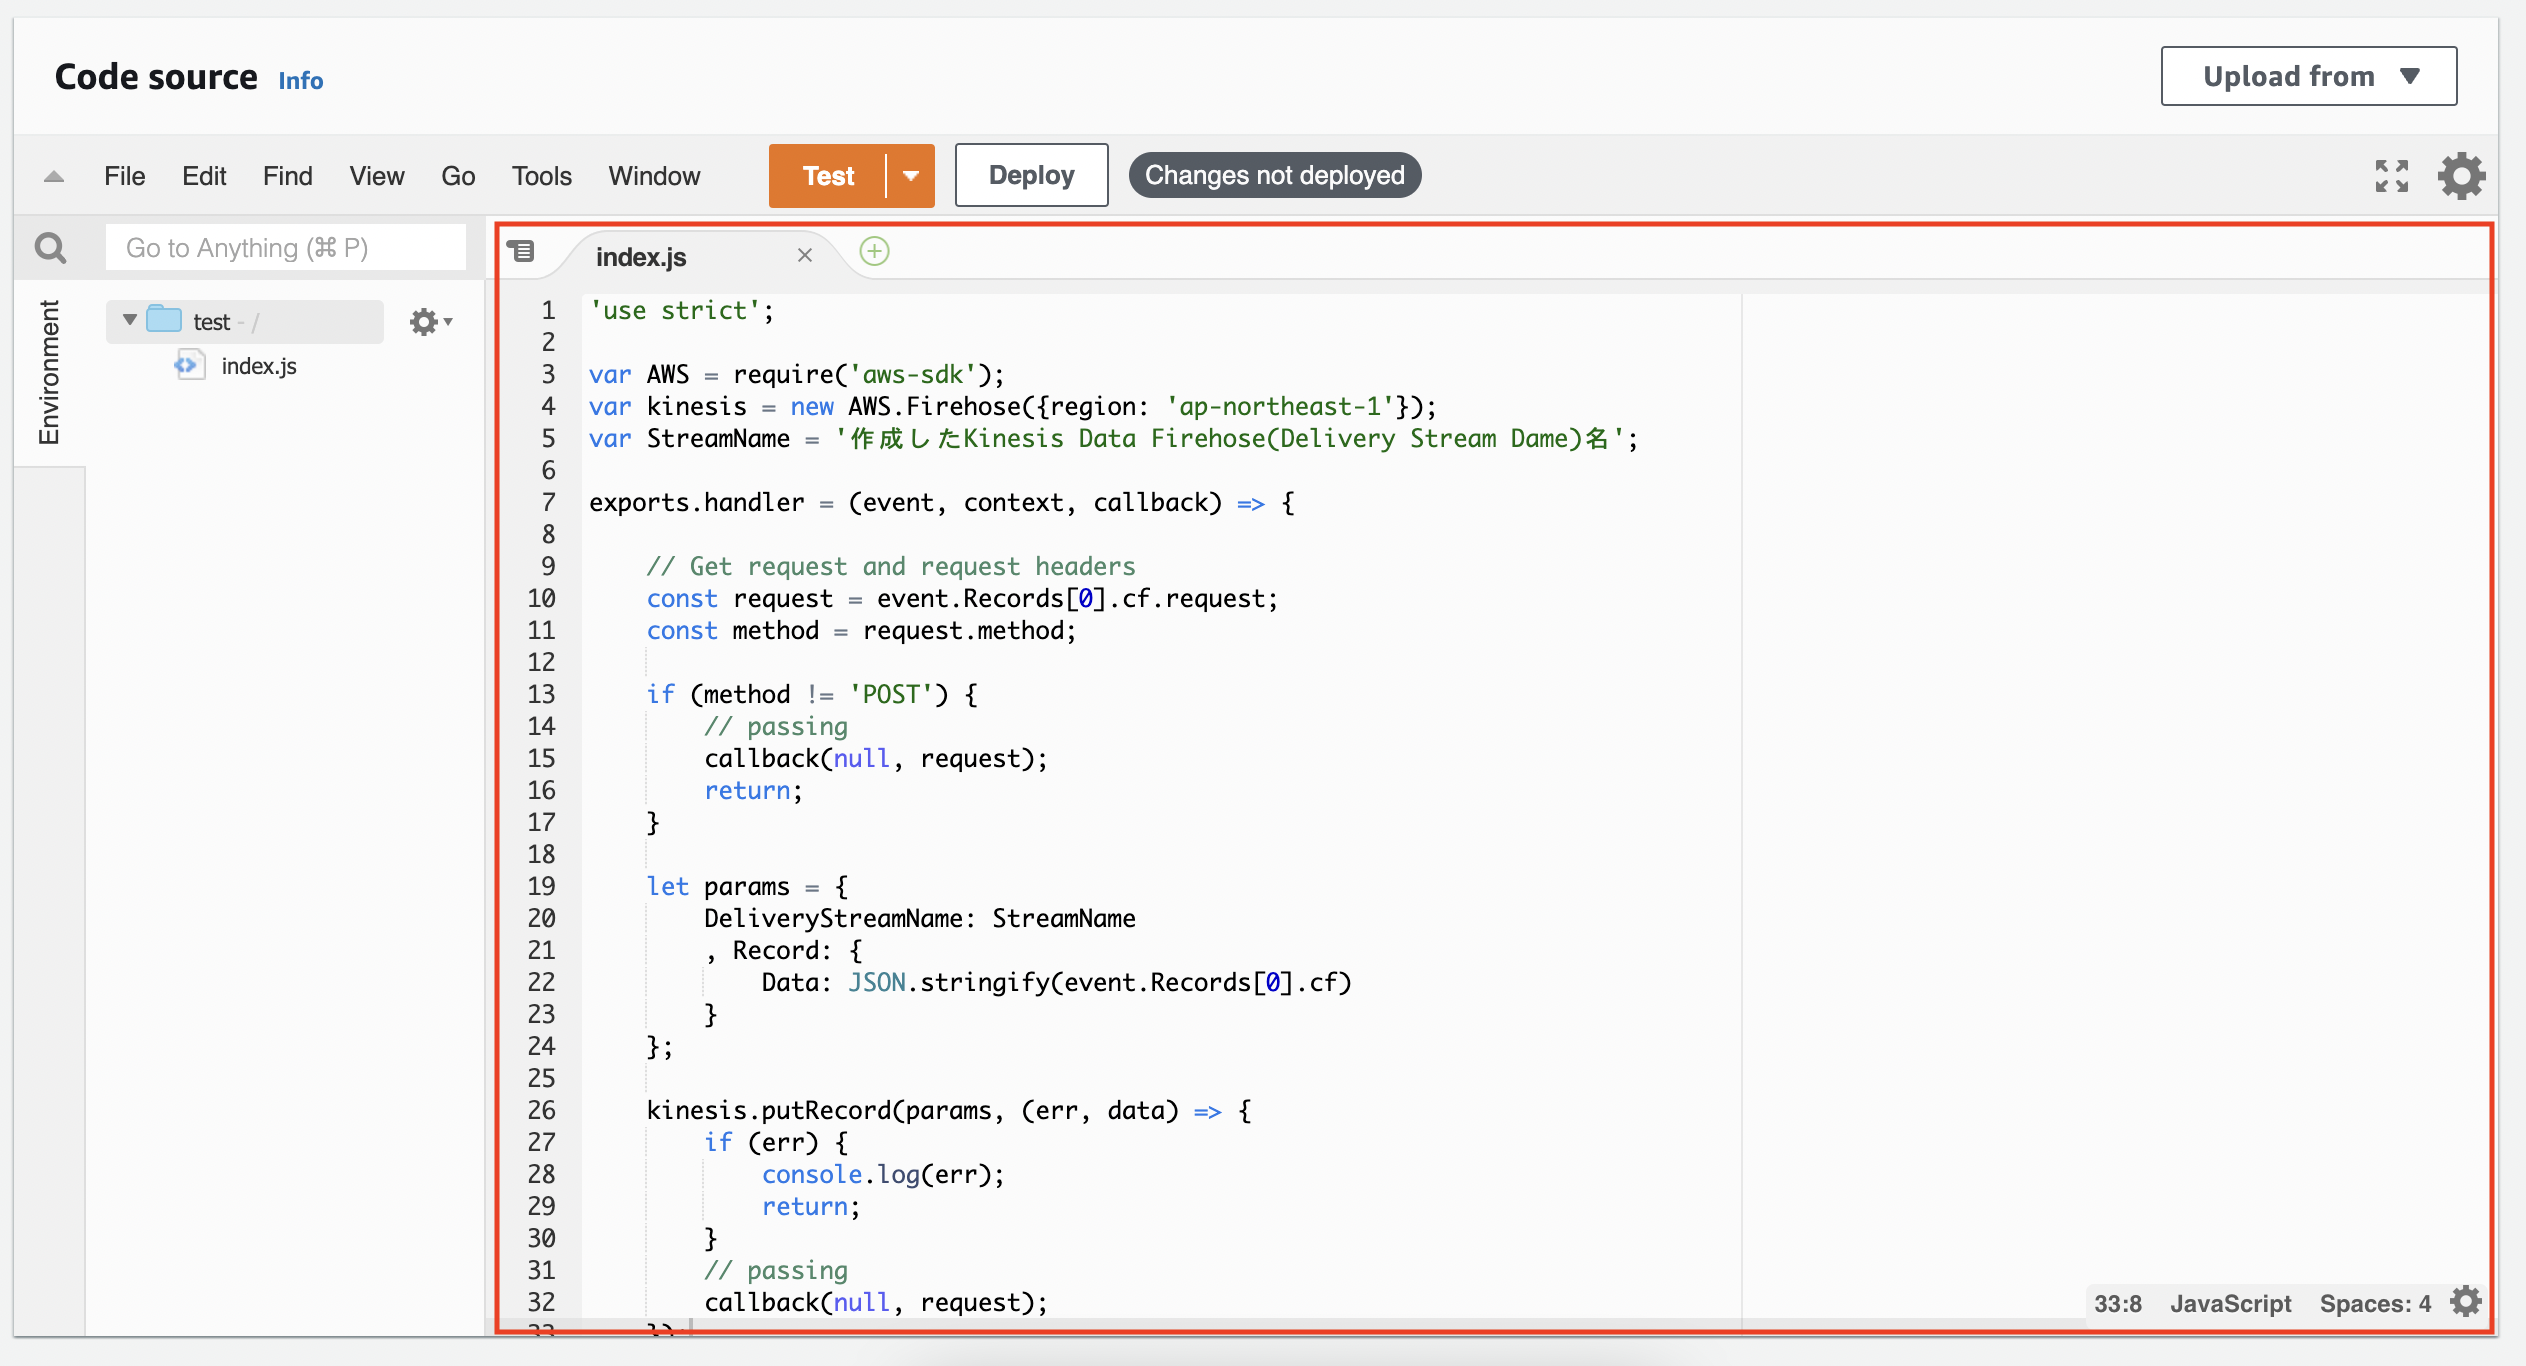
In the “Code source,” you will enter the code we prepared.
*In this post, we will be using “postdata” for “Name of the Kinesis Data Firehose (Delivery Stream Name).” Change it according to the Kinesis Data Firehose name you created.
'use strict';

var AWS = require('aws-sdk');
var kinesis = new AWS.Firehose({region: 'ap-northeast-1'});
var StreamName = 'Name of the Kinesis Data Firehose (Delivery Stream Name)';

exports.handler = (event, context, callback) => {

    // Get request and request headers
    const request = event.Records[0].cf.request;
    const method = request.method;

    if (method != 'POST') {
        // passing
        callback(null, request);
        return;
    }

    let params = {
        DeliveryStreamName: StreamName
        , Record: {
            Data: JSON.stringify(event.Records[0].cf)
        }
    };

    kinesis.putRecord(params, (err, data) => {
        if (err) {
            console.log(err);
            return;
        }
        // passing
        callback(null, request);
    });
};
We will set the ”Execution role.” Select the existing role, set the role you created in *1, and click [Save].

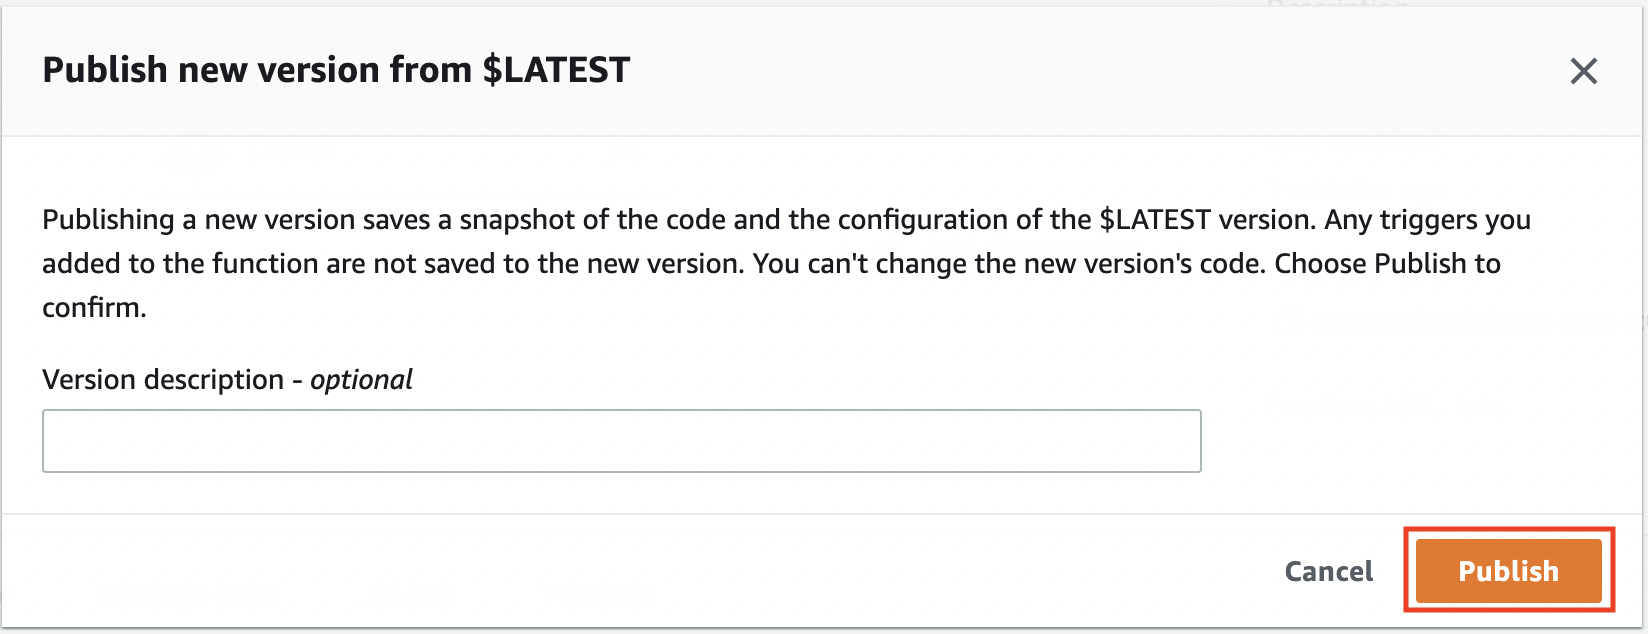
Next, click [Publish new version] from [Actions].
*3 You will use this version later.
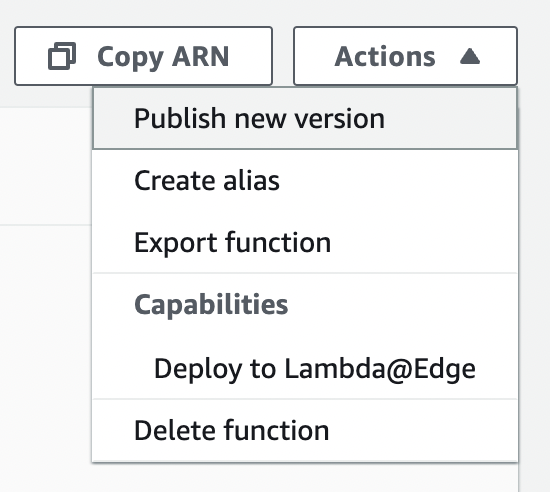
You can enter anything under the “Version description” field. Once you are happy with it, click [Publish].
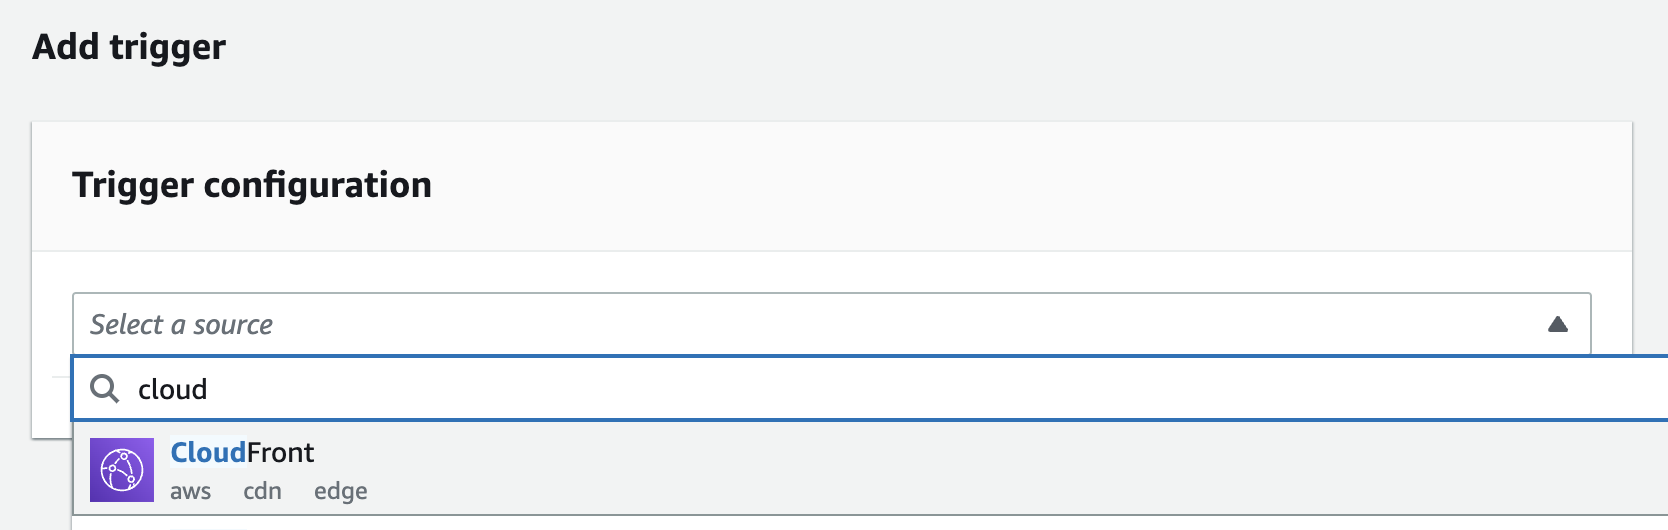
After publishing the new version, we will set the trigger.
Select “CloudFront” from [Add trigger] section.
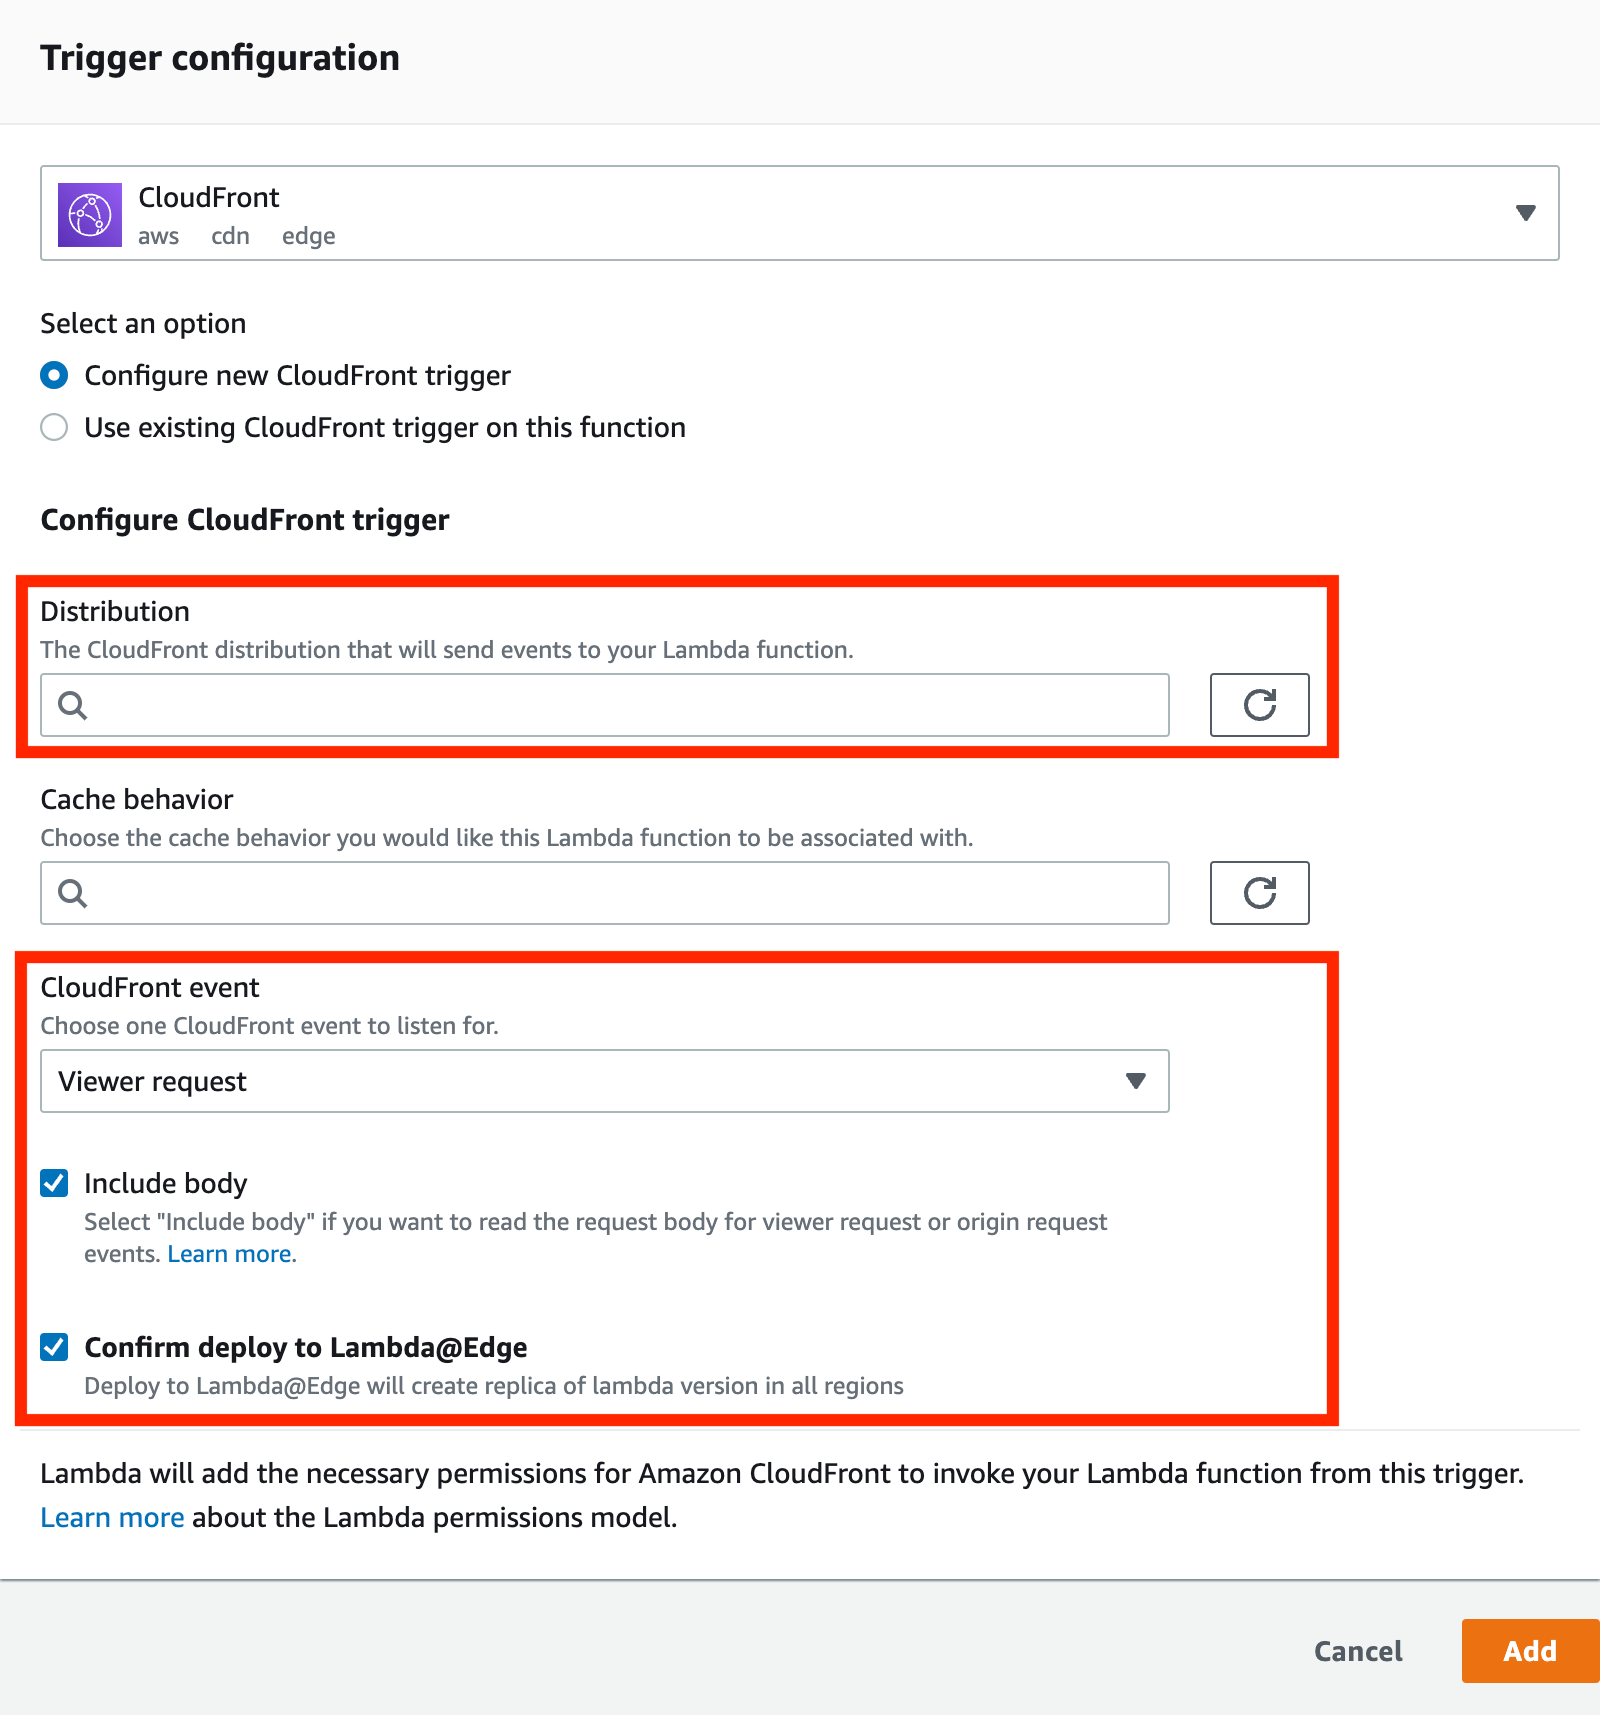
Select the CloudFront distribution you are using in the [Distribution].
Select “Viewer request” for “CloudFront event” and check the “Include body” option.
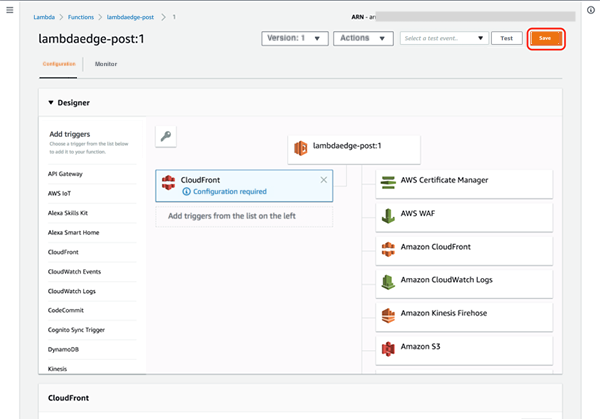
Check the “Confirm deploy to Lambda@Edge” option as well and click [Add].
Click [Save].
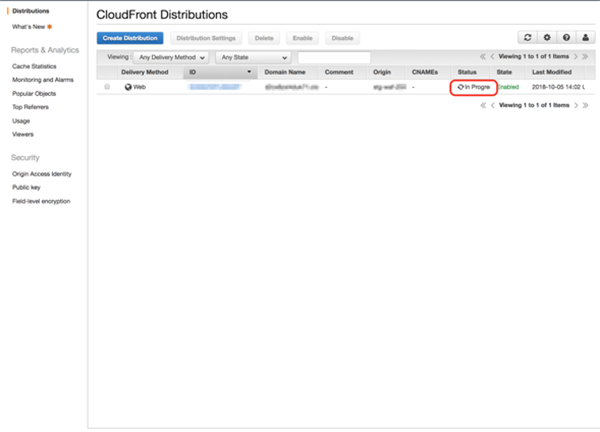
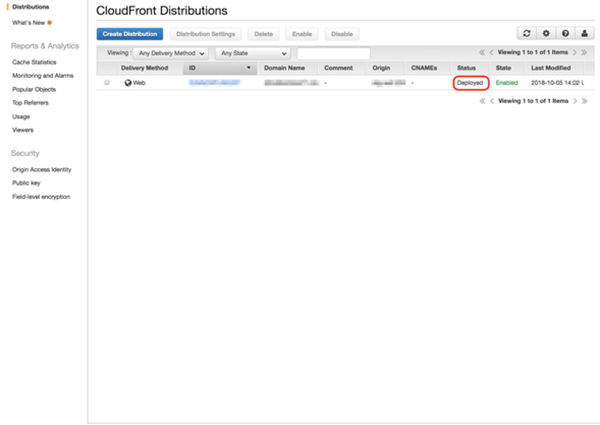
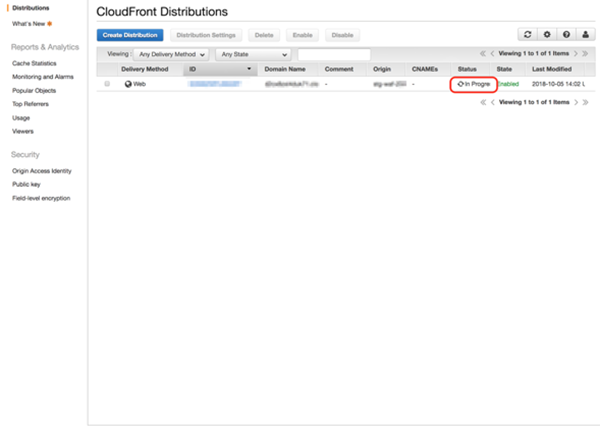
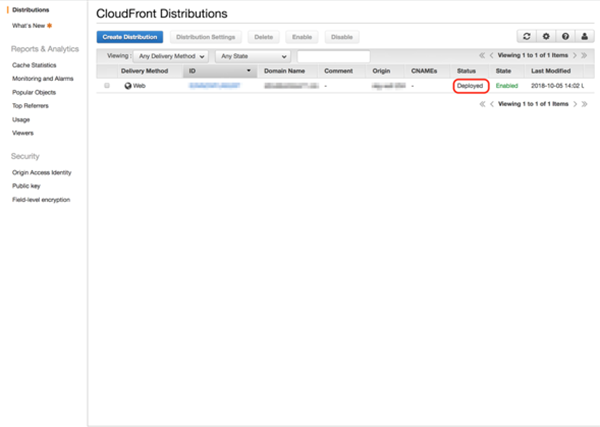
Wait for the status to change to “Deployed” in the CloudFront Distribution list.
In progress
Deployed
5. Check Lambda@Edge’s operation
Lambda@Edge logs are sent to regions of CloudWatch where the edge servers of CloudFront are operating.
For example, if the access came from Japan, you can see the log in the Tokyo region.
/aws/lambda/us-east-1.[Lambda@Edge Function name] The name you set up in *2.
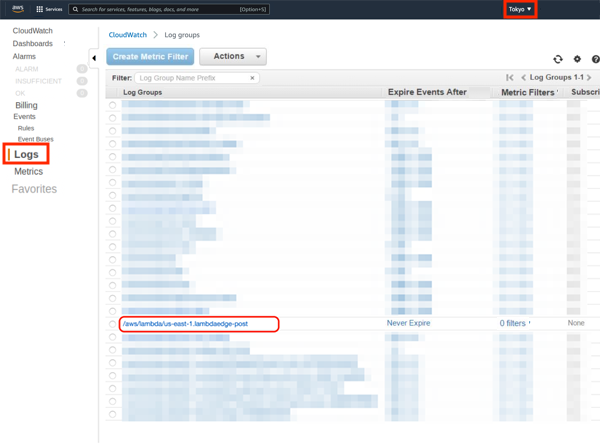
When you have checked that the log file of the correct version is sent, Lambda@Edge has been set up correctly.
The log file should have the version you set up in *3.

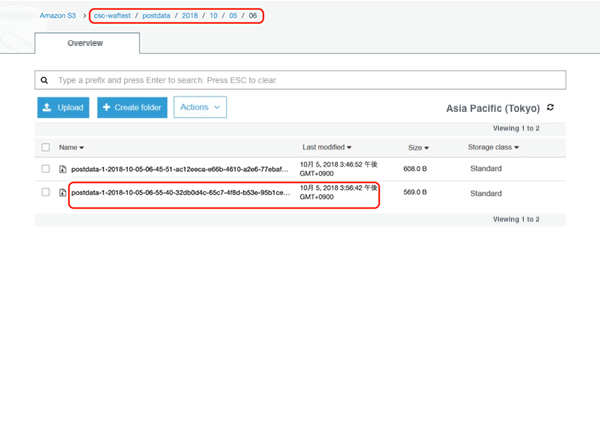
6. Check that logs with POST data are exported to S3
Make sure logs are exported to the destination you specified in Kinesis Data Firehose.
If logs are available, you can download the file to see the content of the log.
7. Stopping the feature
There are two ways to stop the feature.
- Pause the feature temporarily
- Delete the feature itself
If you want to 1. Pause the feature temporarily
Edit the Behavior in CloudFront service page. Select the CloudFront and click [Distribution Settings].
Click [Behaviors].
Check the target “Behavior” and click [Edit].
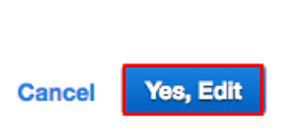
Delete the “CloudFront Event” shown at the bottom of the Behavior page and click [Yes, Edit].

Wait for the status to change to “Deployed.”
You can pause the feature by this method.
Deployed
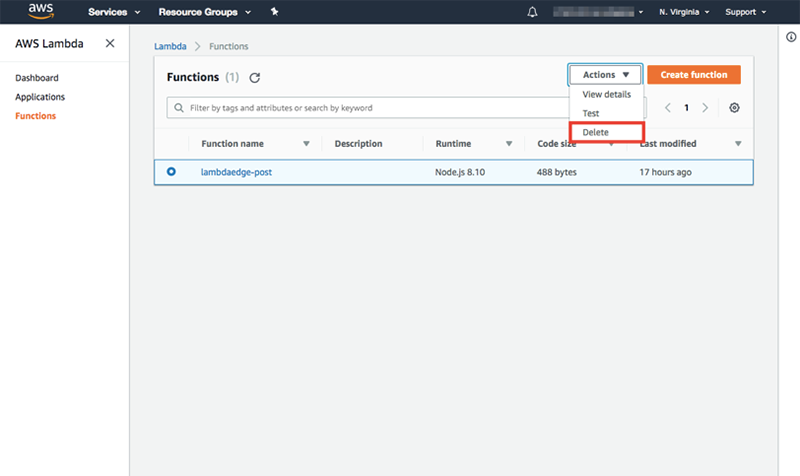
If you want to 2. Delete the feature itself
Follow all the steps in 1. and delete the Lambda@Edge setting the next day after the status got changed to “Deployed” to delete the feature.
Conclusion
In this post, we looked at a way to get POST request body data through CloudFront using Lambda@Edge. Because it was set for Lambda@Edge to go through all requests, it could lead to a delay in the web service responces. Therefore, we only recommend implementing this feature in a testing environment. We do not recommend implementing this in a production environment because of the possible effect on web services.