【Contents】
- Introduction
- How to subscribe?
- How to add Managed Rules to WebACL
- How to cancel a subscription?
- Conclusion
■ Introduction
In the previous WafCharm blog "Introduction of AWS WAF Managed Rules", we explained the pros & cons of Managed Rules.
In this blog, we will introduce the “Subscription Procedure” and how quickly you can start using Managed Rules by adding it to the web ACL. We will also introduce the “Cancellation Procedure” and explain how to cancel a subscription.
■ How to subscribe?
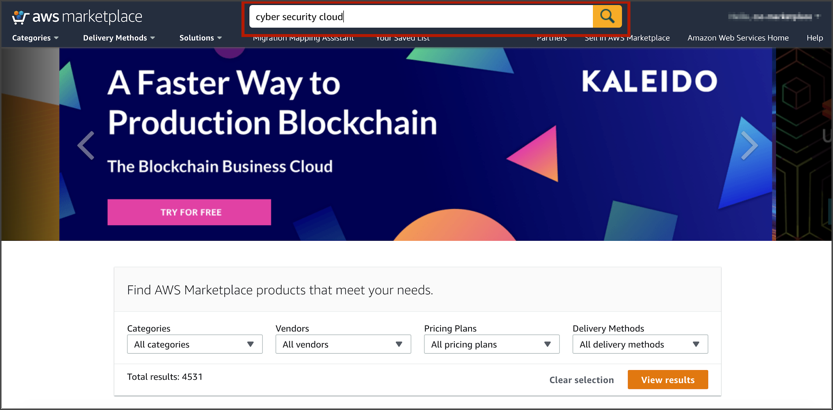
1. Go to the AWS marketplace (https://aws.amazon.com/marketplace/) and search for the Managed Rules you want to subscribe.
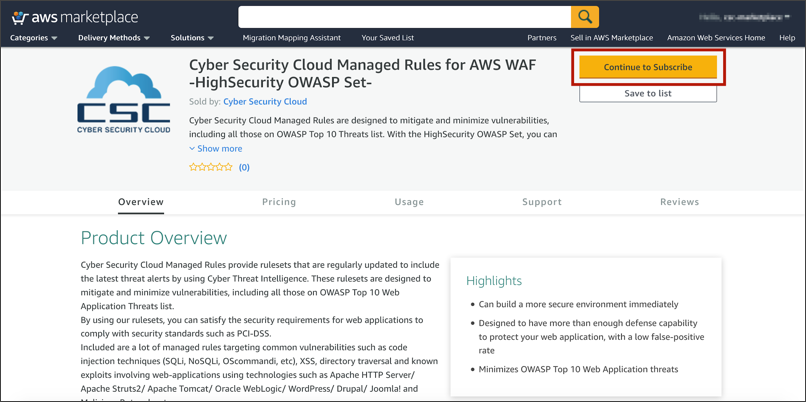
2. On the Managed Rules product page, choose "Continue to Subscribe"
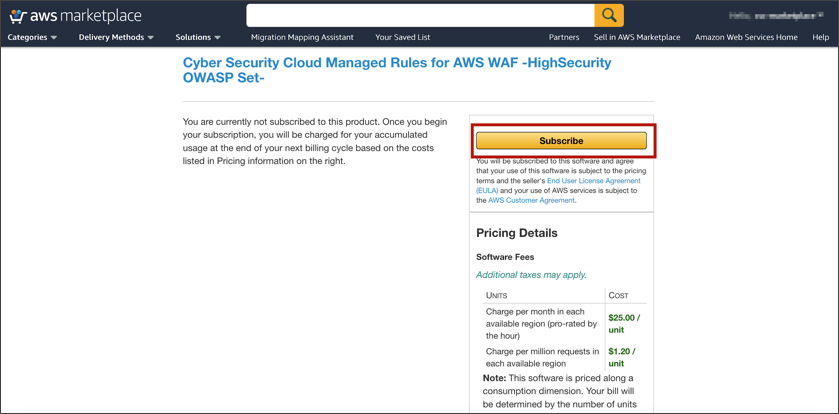
3. Complete the subscription process by clicking "Subscribe"
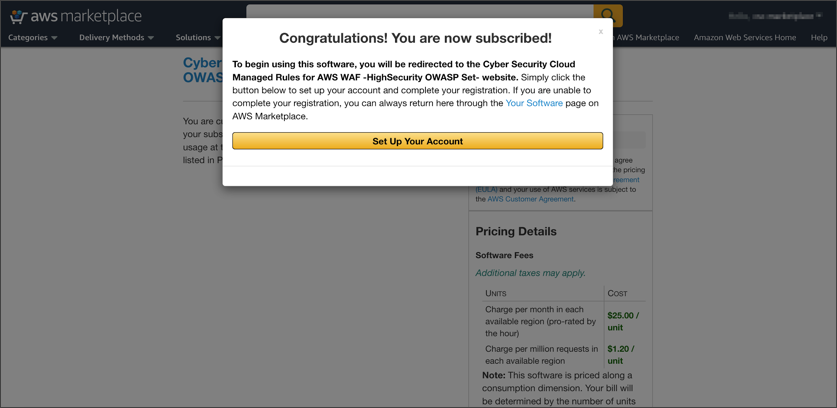
4. You'll get the following screen showing that you are now subscribed to the Managed Rules.
■ How to add Managed Rules to WebACL
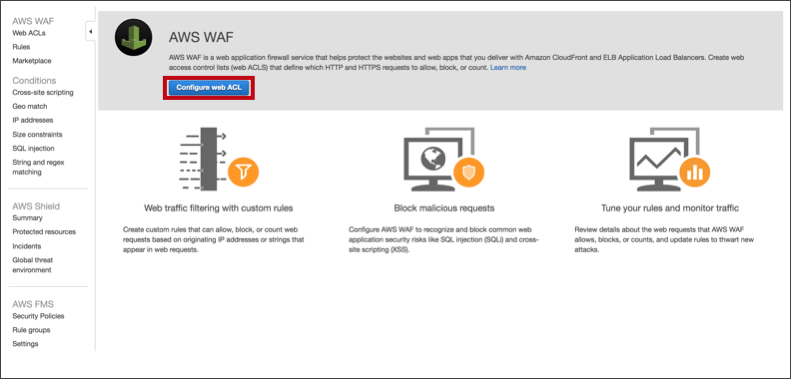
1. In AWS Management Console > AWS WAF > click "Configure web ACL"
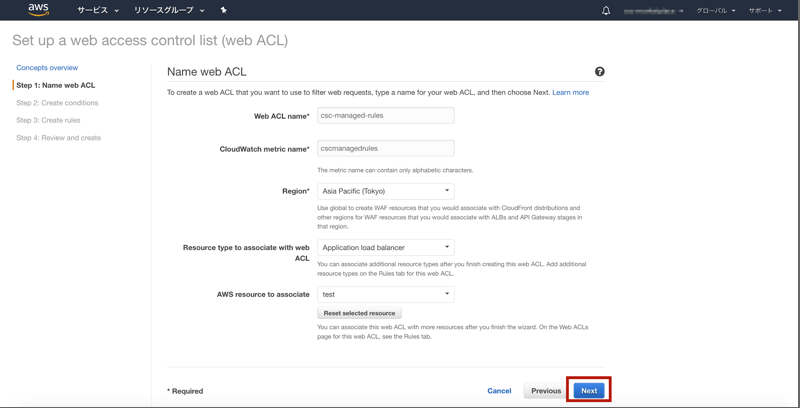
2. First, select (CloudFront or ALB or API Gateway) where you'd like to apply WebACL (Managed Rules) and then choose "Next"
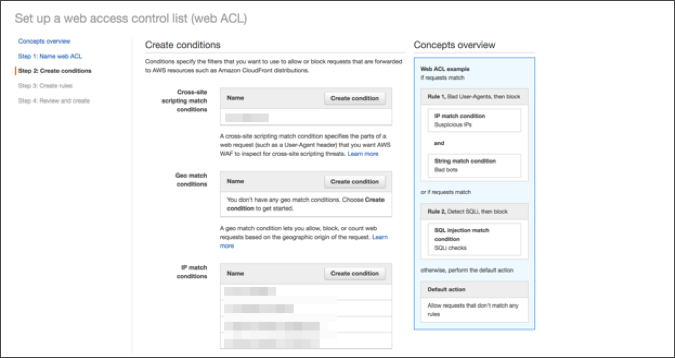
3. Since it is not necessary to create a "Condition" or "Filter" in case of Managed Rules, choose "Next" without selecting or entering anything
4. Select the subscribed Managed Rules under "Add rule to web ACL" tab.
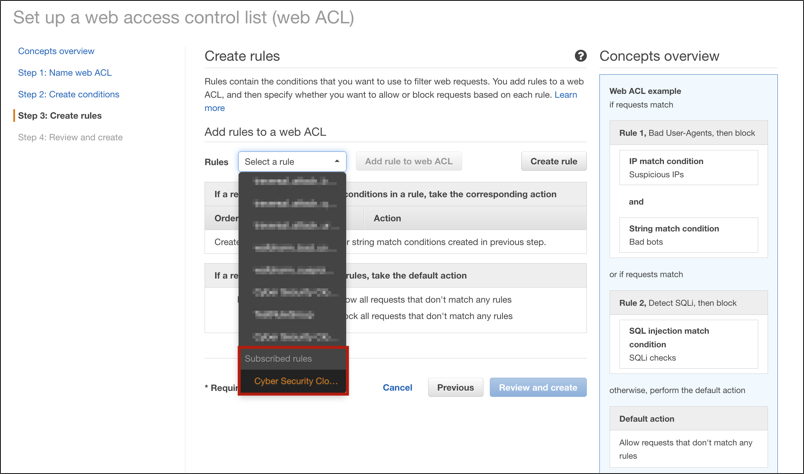
5. Click “Add rule to web ACL”

6. Make sure that the rule has been added as in the red frame
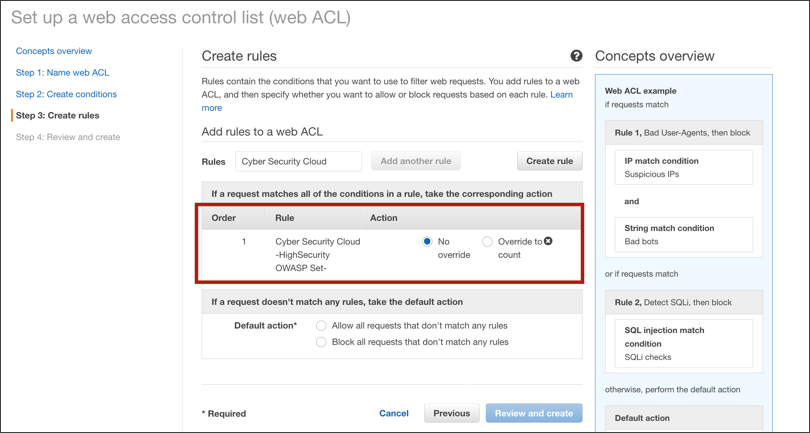
<Notes>
There is a difference in the Action name in the self-made rule in AWS WAF and Managed Rules.
| Self-made rule in AWS WAF | Managed Rules | |
| Action name when you want to block |
BLOCK | No override |
| Action name when you want to detect only |
COUNT | Override to count |
7. For Default action, select "Allow all requests that don't match any rules", and click "Review and create"
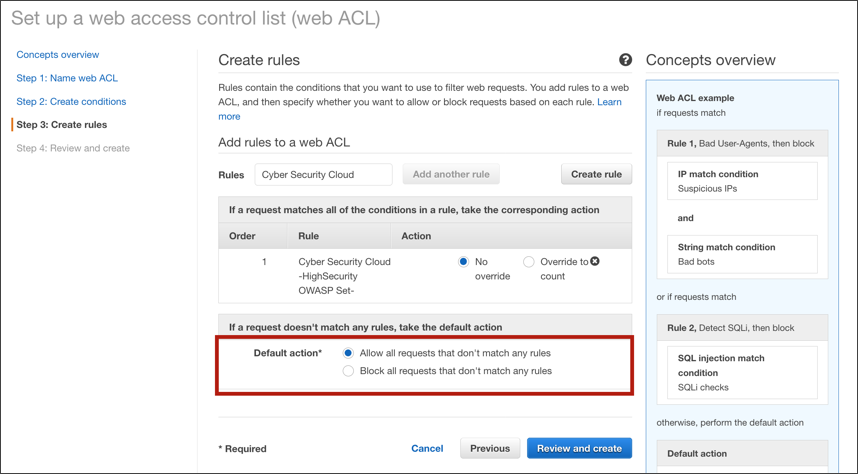
<Notes>
“Default action” is a setting that determines the processing action of a request that did not match the rule.
Since Managed Rules are Blacklist rules, you must always pass requests that did not match the rules, so please be sure to select "Allow all requests that don't match any rules".
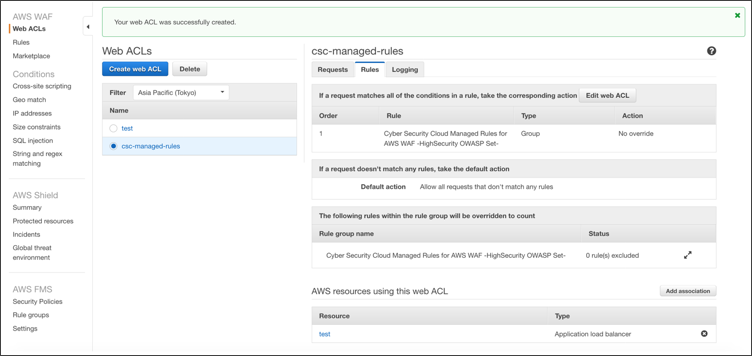
8. Confirm the setting contents and click "Confirm and create", and complete the procedure.

9. Your web ACL was successfully created.
■ How to cancel a subscription?
As a procedure of cancellation, we do not cancel a subscription right away, but first, remove Managed Rules from the Web ACL.
Once Managed Rules has been removed from the WebACL, you can proceed to cancel the subscription.
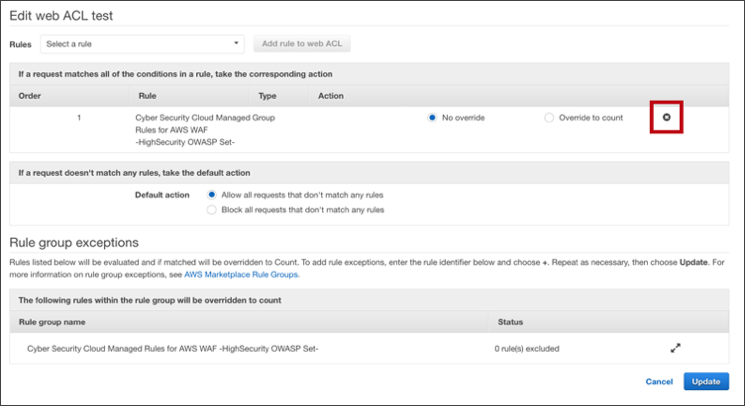
1. Under AWS Management Console > AWS WAF > "WebACLs" > Select the applicable WebACL > "Rules" tab > Select "Edit web ACL"
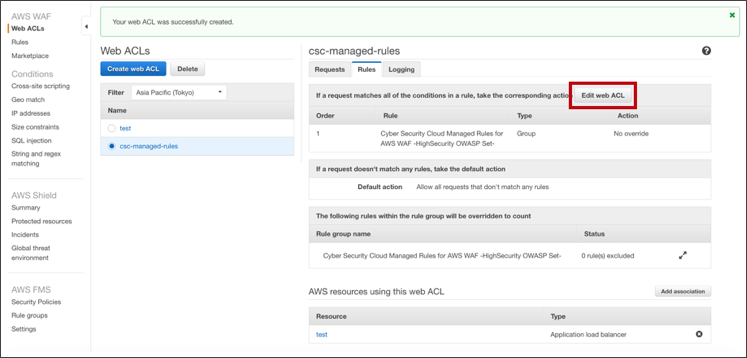
2. Click on the "X mark" in the red frame for the Managed Rules you want to remove.
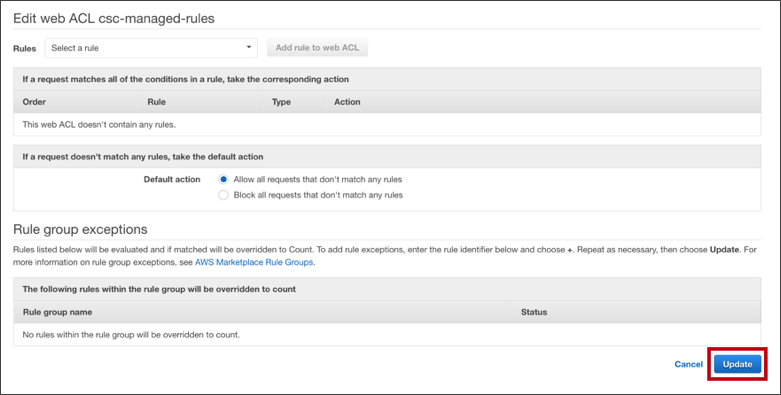
3. After confirming that Managed Rules was deleted from WebACL, click "Update"
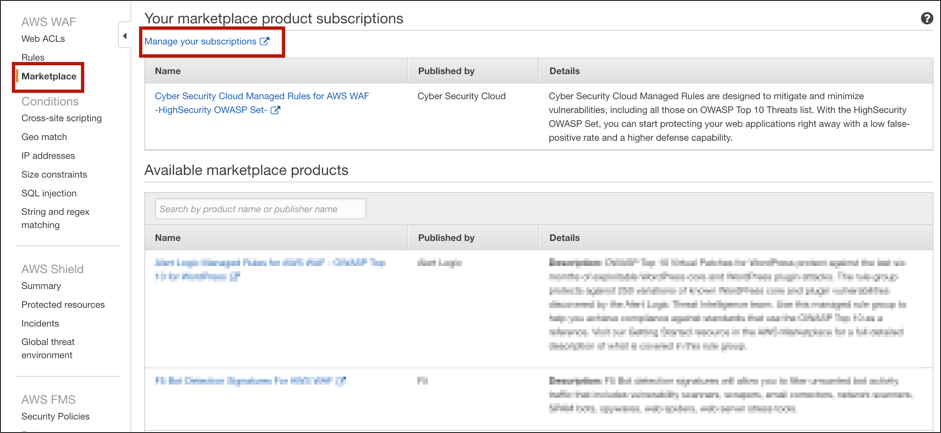
4. Next, under AWS Management Console > AWS WAF > "Marketplace" > select "Manage your subscriptions"
5. Click “CANCEL SUBSCRIPTION”
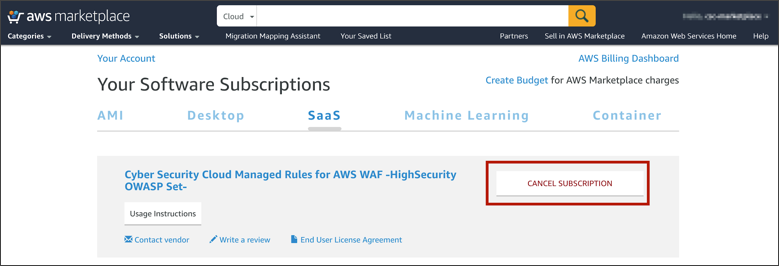
6. By clicking on “YES, CANCEL SUBSCRIPTION”, cancellation procedure is complete.

■ Conclusion
Managed Rules are simple from purchase to application and can be used immediately.
As a result, we can improve web security with overwhelming speed as compared to conventional WAF.
Also, unlike when you create rules yourself with AWS WAF, you can start using Managed Rules with just a few clicks.
You can start using WAF right now!
Go ahead and try AWS WAF Managed Rules yourself!