Table of Contents
1. Introduction
On November 08, 2021 there was an update to the AWS WAF documentation, which says that CAPTCHA configuration is now available in some regions. This blog is a brief tutorial on how to configure and use CAPTCHA in your WAF rules.
2. What is CAPTCHA?
CAPTCHA is a test designed to distinguish between programs and humans. You must have the experience of selecting a photo or typing the displayed wired text on a login page. Now that you can set up such a mechanism using AWS WAF, you can prevent bot access without having to modify your application.
The regions where you can set up CAPCHAs in AWS WAF are limited, and we have confirmed that it is available in us-east-1, us-west-2, ap-southeast-1, eu-central-1, and sa-east-1. (Please note that these are just our survey as of November 2021, and are not official information.)
3. How to Configure
You can try this feature from creating a Web ACL with us-east1 as the target region.
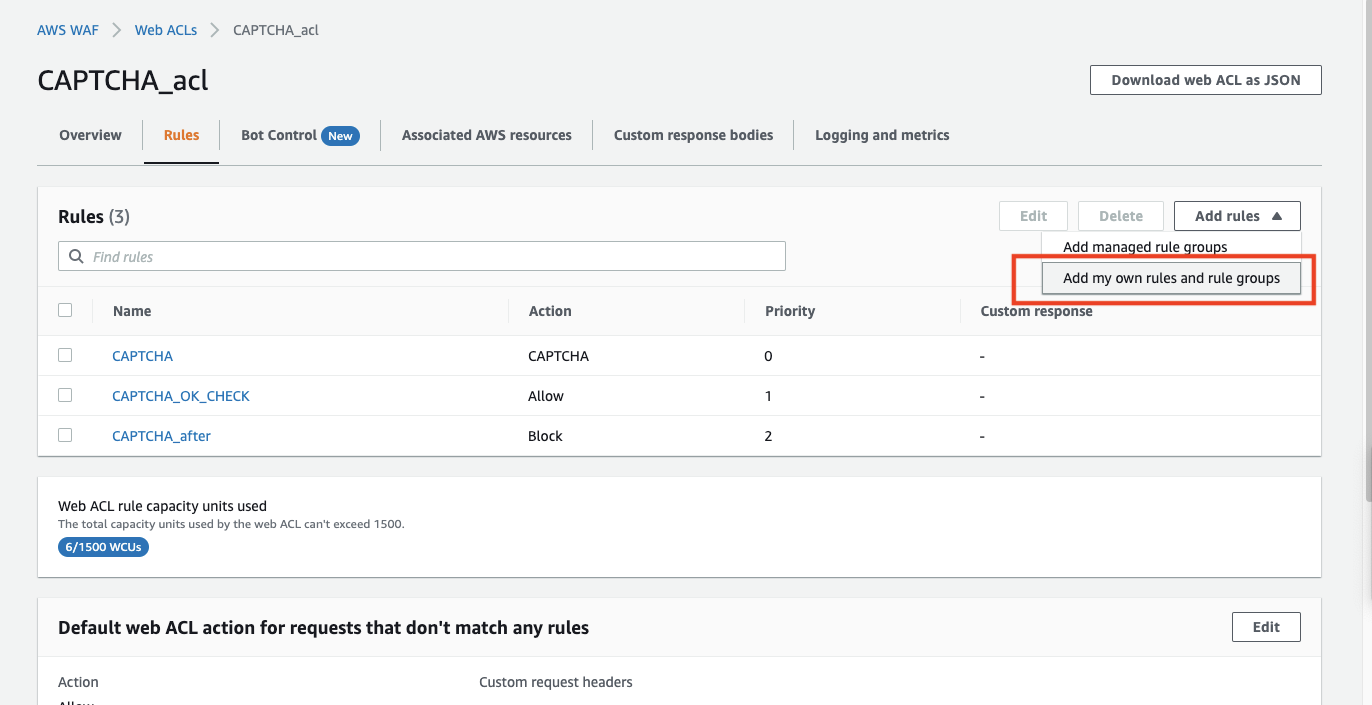
From the Rules of the target ACL, press "Add rules" and select "Add my own rules ~".
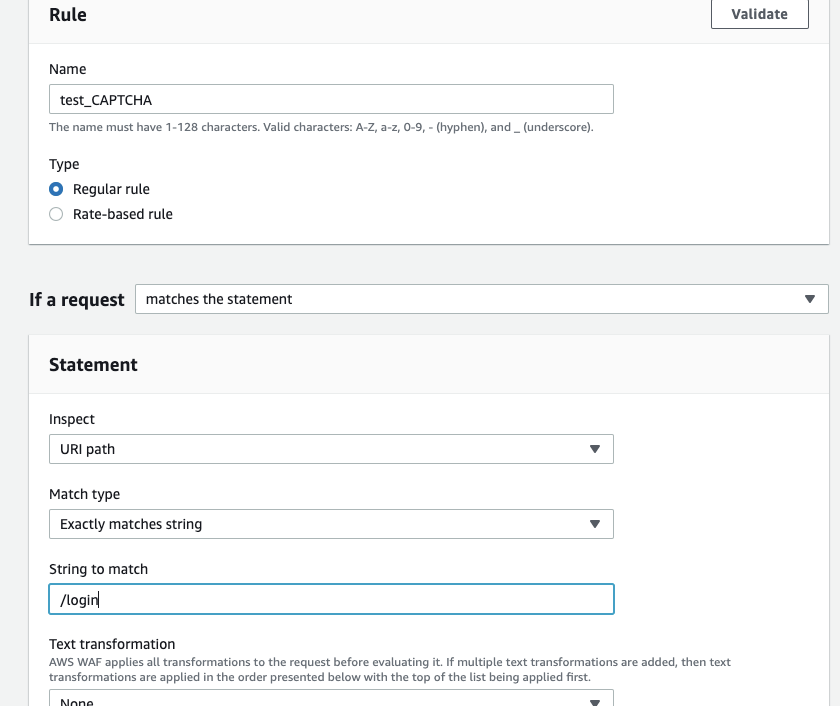
In this case, we will create a rule that will require a CAPTCHA for the URI "/login".
We have entered the rule name and registered the string matching condition for the URI as an exact match.
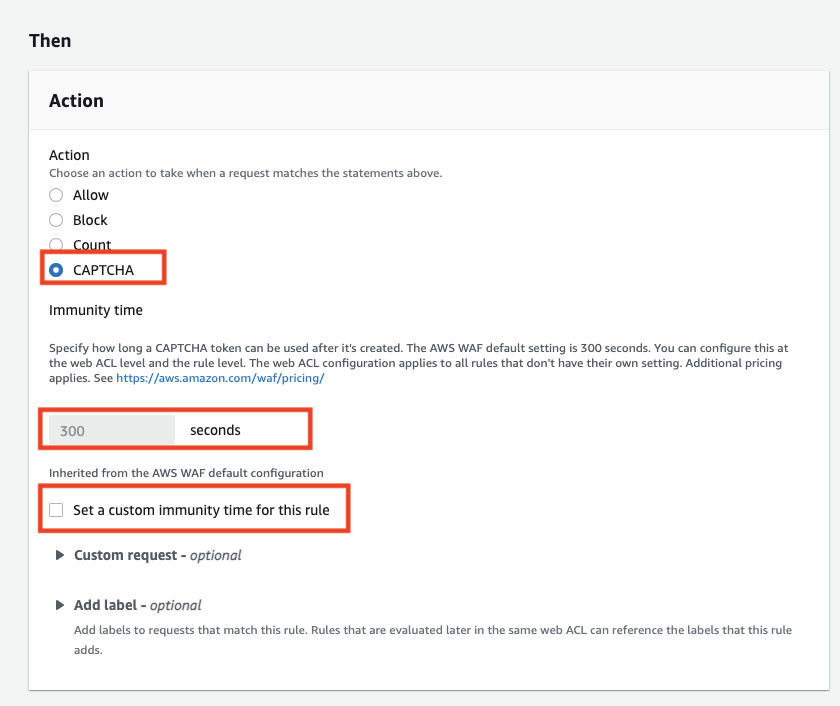
Select "CAPTCHA" in the Action section to set the time.
The default setting is 300 seconds to hold the authentication.
You can also change the time by selecting the "Set a Custom ~" item, where you can choose from 60 seconds to 259,200 seconds (3 days).
This is how the rule looks in JSON notation:
{
  "Name": "test_CAPTCHA",
  "Priority": 0,
  "Action": {
    "Captcha": {}
  },
  "VisibilityConfig": {
    "SampledRequestsEnabled": true,
    "CloudWatchMetricsEnabled": true,
    "MetricName": "test_CAPTCHA"
  },
  "Statement": {
    "ByteMatchStatement": {
      "FieldToMatch": {
        "UriPath": {}
      },
      "PositionalConstraint": "EXACTLY",
      "SearchString": "/login",
      "TextTransformations": [
        {
          "Type": "NONE",
          "Priority": 0
        }
      ]
    }
  },
  "CaptchaConfig": {
    "ImmunityTimeProperty": {
      "ImmunityTime": "60"
    }
  }
}
(If the time is default, the CaptchaConfig line won't appear.)
The creation of the rule is now complete.
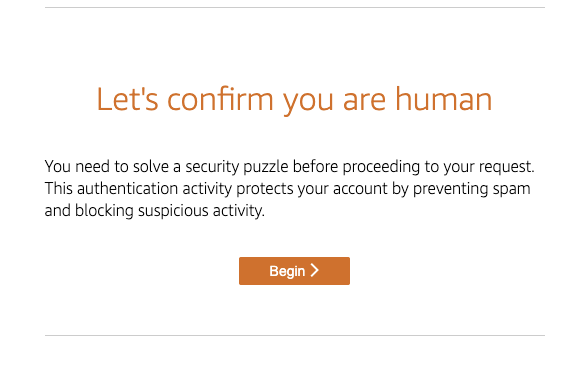
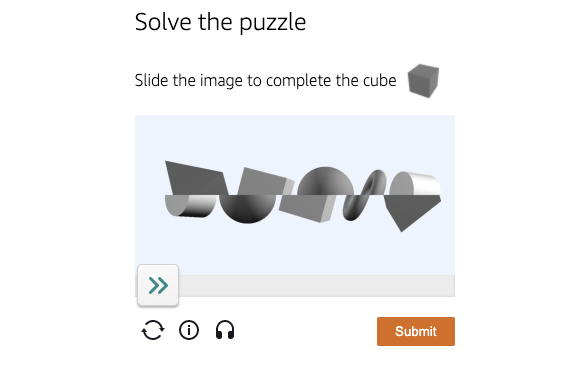
When we actually accessed the site, the start screen was displayed, and we were able to test the following three patterns.
Test to complete the specified shape by moving the arrows.
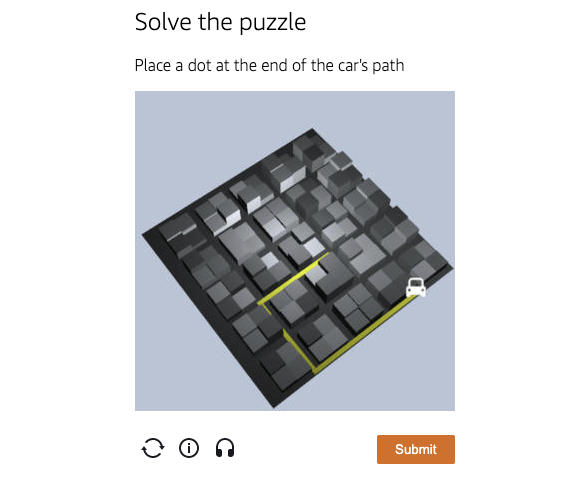
Test to select the route that the colored cars take.
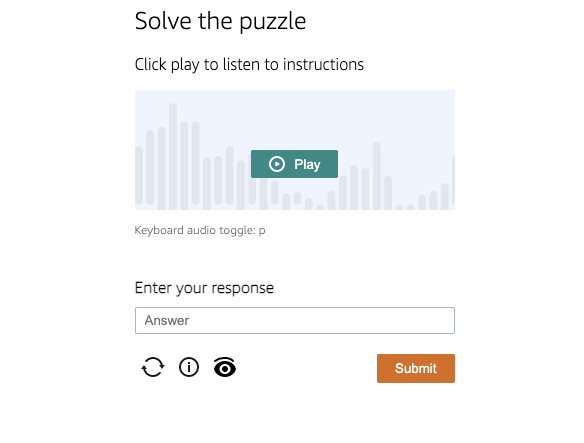
There was also a test where you had to select a button on the earpiece and type in the phrase that was read out loud.
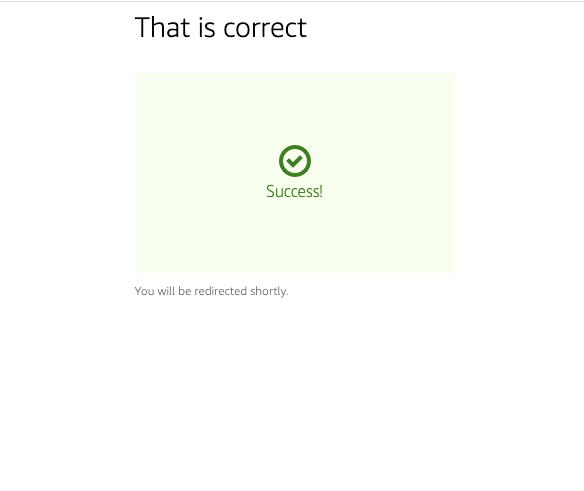
If the test is successful, the following screen will appear and you will be redirected to the accessed screen.
Note that it is only a part of the rules, so even after a successful CAPTCHA, if there is a rule after the rule you set for the CAPTCHA, it will be checked.
Rule 1 (action: CAPTCHA)
Rule 2 (Action: BLOCK)
In the above configuration, even if the CAPTCHA is cleared by rule 1, if the access corresponds to rule 2, it will be BLOCKed.
4. How to Use
If you have already set up CAPTCHA on your login screen or some other input form, you can use it as an alternative.
The advantage of using this alternative is that it is possible to prevent requests from passing through at the time of WAF, thus reducing the load on the application layer and network. Another advantage is that there is no need to modify the application side.
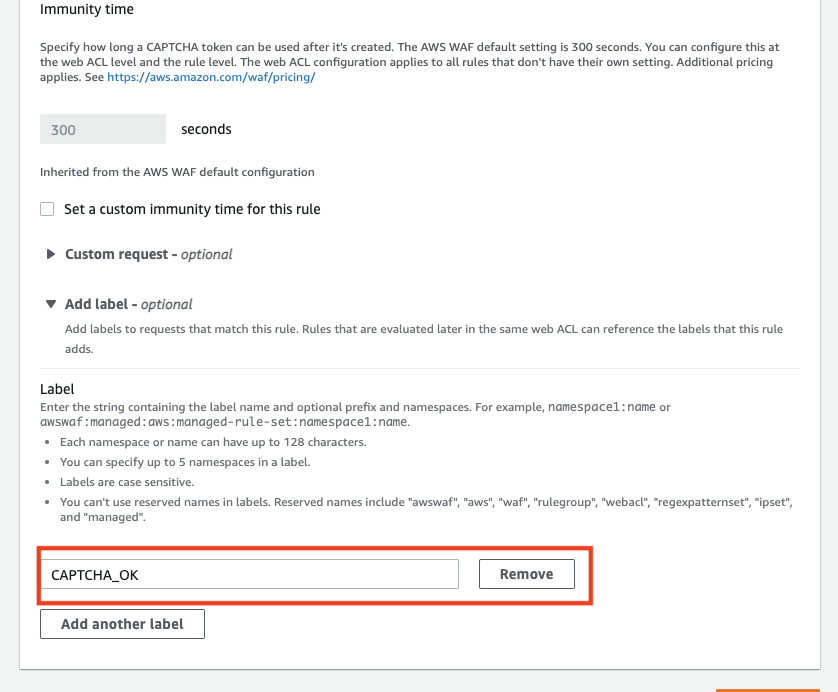
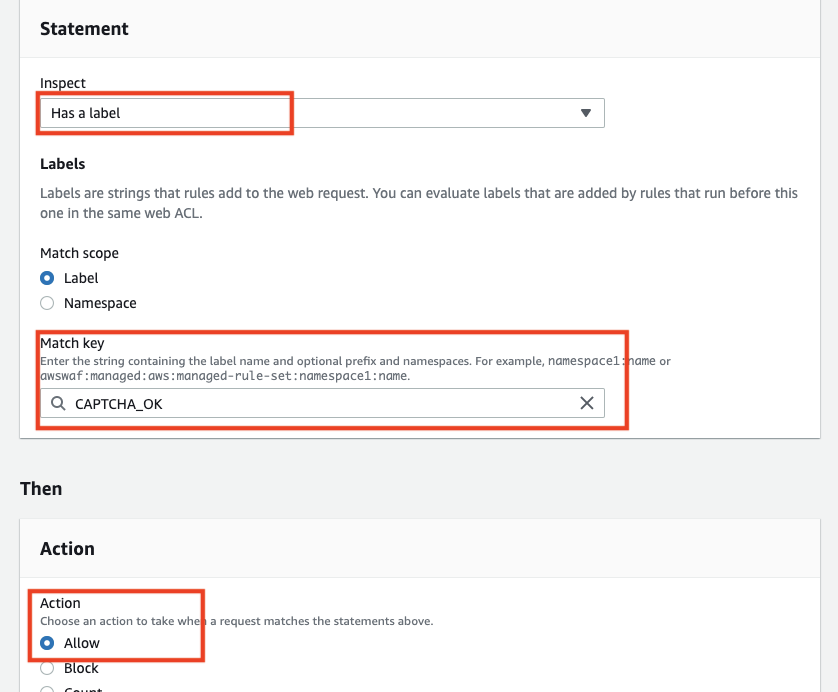
If the policy is to accept anything that users enter in a contact form, etc., as long as it passes through CAPTCHA, it is possible to create a rule that assigns a label to a CAPTCHA rule and then creates a rule that ALLOWs the rule depending on whether or not the label is present in the subsequent rule, so that requests that pass through CAPTCHA are not checked by the subsequent rule. It is also possible to create rules that are ALLOWed by the presence or absence of a label.
The label feature is a setting that indicates that a rule has been matched. The label function is a setting that indicates that a rule has been matched, and subsequent rules can judge whether a label is present or not.
Rule 1 (action: CAPTCHA) *label is also given
Rule 3 (Action: ALLOW): Allow access if it matches the label.
Rule 2 (Action: BLOCK)
Example of adding a label to a CAPTCHA rule
Example of a rule to ALLOW by label
5. WafCharm's response
Since this will affect the behavior of WafCharm, don't change the rules created by WafCharm to CAPTCHA actions for Web ACLs associated with Web ACL Config.
At this time, we do not have any plans to add the ability to configure CAPTCHA actions from the WafCharm dashboard. Also, WafCharm's rules are designed to detect attacks, and we do not plan to introduce rules that use CAPTCHA actions.
6. Conclusion
This CAPTCHA feature is a new action that can be used to prevent bot attacks. If you have already implemented CAPTCHA in your application, you may not need to migrate, but if you want to set up a new action, you may want to unify it with AWS WAF settings because it is easy to configure.
Please note that this CAPTCHA is not yet be available in all areas. Please check availability for your region by yourselves.